Using Arduino to subscribe to topics
Before subscribing to topics MakerCloud, users must first learn how to connect Arduino to MakerCloud via MQTT. For the connection instructions, please refer here: Connect MakerCloud with Arduino
Subscription functions
In Arduino MakerCloud MakerCloudMQTT, there are different types of subscription functions.
MakerCloudClient.subscribe()
Subscribes to MakerCloud Topics
MakerCloudClient.subscribe(topic);
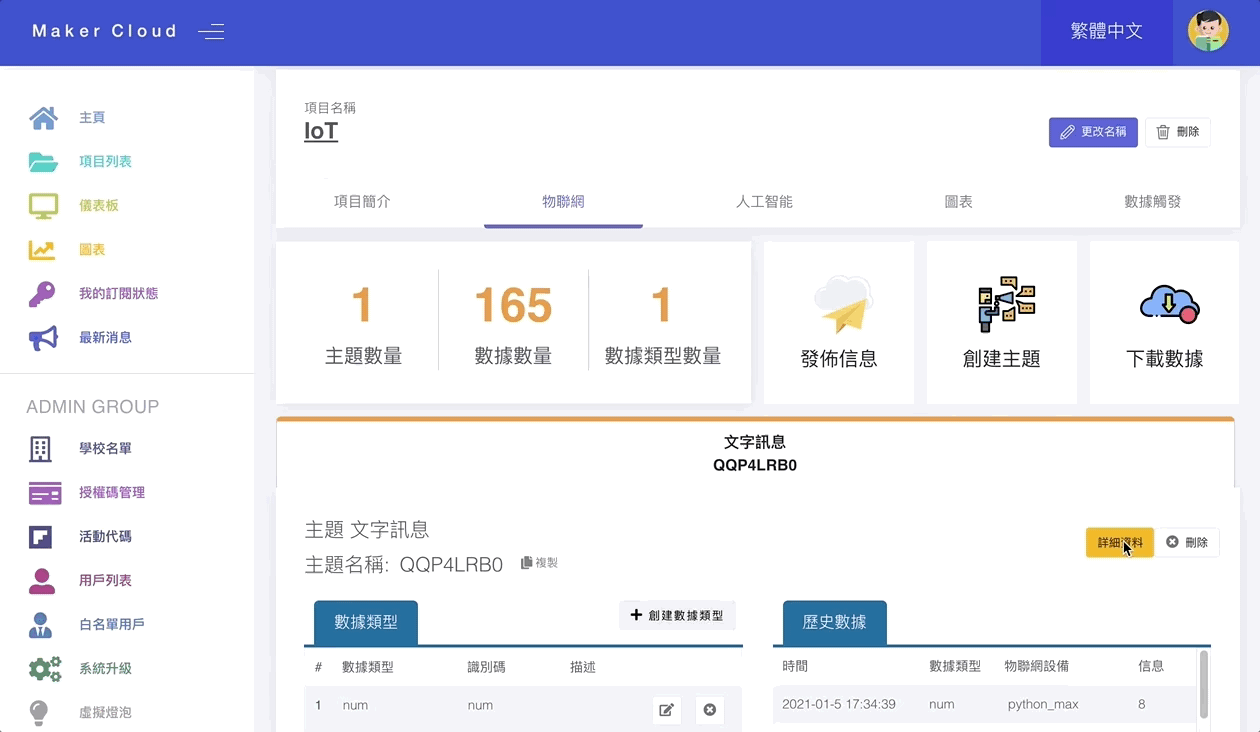
Topic: The topic name created on MakerCloud
MakerCloudClient.listen()
Read 1 MQTT message from the subscribed topic
MakerCloudClient.listen();
MakerCloudClient.setMessageCallback
When a text message is received, this function will run. Users need to define the function by themselves first before assigning it to MakerCloudMQTT.
void message_callback(String topic, String message) {

}

// setup
MakerCloudClient.setMessageCallback(message_callback);
Topic: Subscribed topic name
Message: Text message that was received
MakerCloudClient.setKeyMessageCallback
When a key text pair message is received, this function will run. Users need to define by themselves first, and then assign it to MakerCloudMQTT.
void key_message_callback(String topic, String key, String message) {

}

// setup
MakerCloudClient.setKeyMessageCallback(key_message_callback);
Topic: Subscribed topic name
Key: Received
Message: Received text message
MakerCloudClient.setKeyValueCallback
When a key-value pair message is received, this function will be run. Users need to define by themselves first, and then assign it to MakerCloudMQTT.
void key_value_callback(String topic, String key, int value) {

}

// setup
MakerCloudClient.setKeyValueCallback(key_value_callback);
Topic: Subscribed topic name
Key: Received key
Value: Received value
Exercise: Receiving text messages
Learning Focus
- Learn how to receive text messages from subscribed topics via Arduino
Goals
- Subscribe to topics
- Receive MQTT text messages from MakerCloud
Preparation on MakerCloud:
- Create a project
-
Create a topic
-
Copy the topic name in MakerCloud

Programming on Arduino IDE:
EthernetClient ethClient;
MakerCloudMQTT MakerCloudClient(ethClient);

// This function connects Wi-Fi
void setup_wifi() {

}

// Subscribe Message Callback Function
void message_callback(String topic, String message) {
  Serial.print("Topic: ");
  Serial.print(topic);
  Serial.print("; Message: ");
  Serial.println(message);
}

void setup() {
  Serial.begin(115200);

  // MakerCloudMQTT Configuration
  MakerCloudClient.setUsername("Max");
  // Enable to print extra log
  MakerCloudClient.setLog(true);

  // Set callback function
  MakerCloudClient.setMessageCallback(message_callback);

  // Connect Wi-Fi
  setup_wifi();

  // Connect to MakerCloud
  if (MakerCloudClient.connect()) {
    // Subscribe to a topic
    MakerCloudClient.subscribe(topic);
  }
}

// The looping function will allow sending message to MakerCloud
void loop() {
  // Update user status and process 1 incoming MQTT message each second
  MakerCloudClient.listen();
  delay(1000);
}
After completing and running the program, return to your project's homepage on MakerCloud. Press the "Details" button on the topic to enter the topic homepage. In the text input box of "Send Message to topic", enter "hello" and click "Send".
In the Arduino IDE, open the Serial Monitor, and you should receive a text message:
Topic: QQP4LRB0; Message: hello