Using Python to publish messages to MakerCloud
Before publishing messages to MakerCloud, users must first learn how to connect Python to MakerCloud via MQTT. For instructions, refer to the following link: Using Python to connect to MakerCloud
Publishing a message
MakerCloudMQTT.publish_message()
Publishes a text message to a topic on MakerCloud:
MakerCloudMQTT.publish_message(topic, message)
Topic - the topic name created on "MakerCloud"
Message - the text message that you want to publish
MakerCloudMQTT.publish_key_message()
Publishes a key text message to the topic on MakerCloud:
MakerCloudMQTT.publish_key_message(topic, key, message)
Topic -
the topic name created on "MakerCloud"
Key - the key that you want to use
Message - The text message that you want to publish
MakerCloudMQTT.publish_key_value()
Publishes a key-value message to MakerCloud to the topic (the corresponding line chart will be automatically created on MakerCloud):
MakerCloudMQTT.publish_key_value(topic, key, value)
Topic - the topic name created on "MakerCloud"
Key - the key that you want to use
Value - the value that you want to publish
MakerCloudMQTT.publish_coordination()
Publishes a latidude/longitude message to MakerCloud to a topic (a corresponding line chart will be automatically created on MakerCloud):
MakerCloudMQTT.publish_coordination(topic, latitude, longitude)
Topic - the topic name created on "MakerCloud"
Latitude - the latitude you want to publish
Longitude - the longitude you want to publish
Users can use the publishing function that corresponds to the type of data they want to send.
Application: Publishing a text message
Learning Focus
- Learn how to use Python to publish text messages to topics on MakerCloud
Exercise:
- Receive text input and publish it to a topic on MakerCloud.
Preparation on MakerCloud:
- Create a project
- Create a topic
- Copy the topic name in MakerCloud

Programming in Python:
import MakerCloudMQTT

MakerCloudMQTT.username ='Max'
# Paste the topic name
topic ='QQP4LRB0'

while 1:
     # Read input crossword
     message = input('Message:')
     # publish text message to MakerCloud topic
     MakerCloudMQTT.publish_message(topic, message)
After running the programming, enter the text message you want to publish
Message: hello
Message: from
Message: Python
On the project homepage of MakerCloud, you should see the text messages published from python in the real-time data viewer.

Application: Publishing a key-value pair message
Learning Focus:
- Learn how to publish key-value pairs to MakerCloud topics through Python
- Create a line graph on MakerCloud to display and record key-value pair messages
Exercise: Publishing random numbers
Goals:
- Publish key-value pair messages (random numbers) to MakerCloud
- Create a line graph on MakerCloud to display and record key-value pairs
Preparation on MakerCloud:
- Create a project
- Create a topic
- Copy the topic name in MakerCloud

Programming in python:
import MakerCloudMQTT
import random
import time
MakerCloudMQTT.username = 'Max'
# Place the topic name inside a variable
topic ='QQP4LRB0'

while 1:
     # Generate random numbers (1-10)
     randomInt = random.randint(1, 10)
     # Publish key-value pairs (random numbers) to the Makercloud topic
     MakerCloudMQTT.publish_key_value(topic,'num', randomInt)
     print('Published: num =',randomInt)
     # Pause for 1 second
     time.sleep(1)
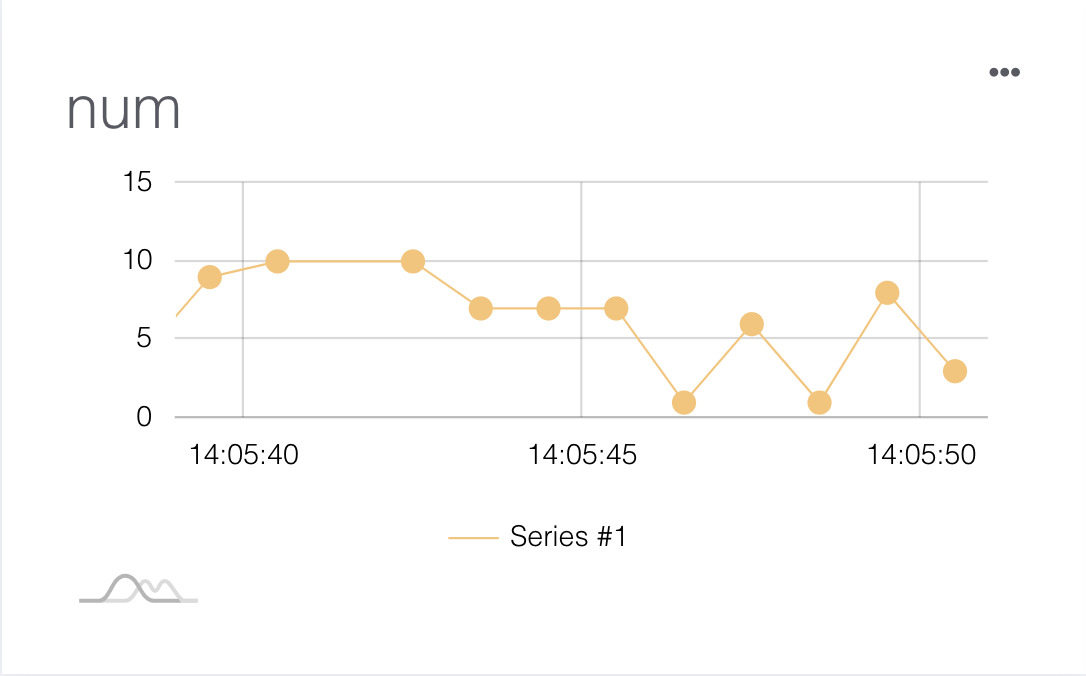
When finished, return to the project homepage of MakerCloud. You should see the key-value pair messages from python in the real-time data viewer.

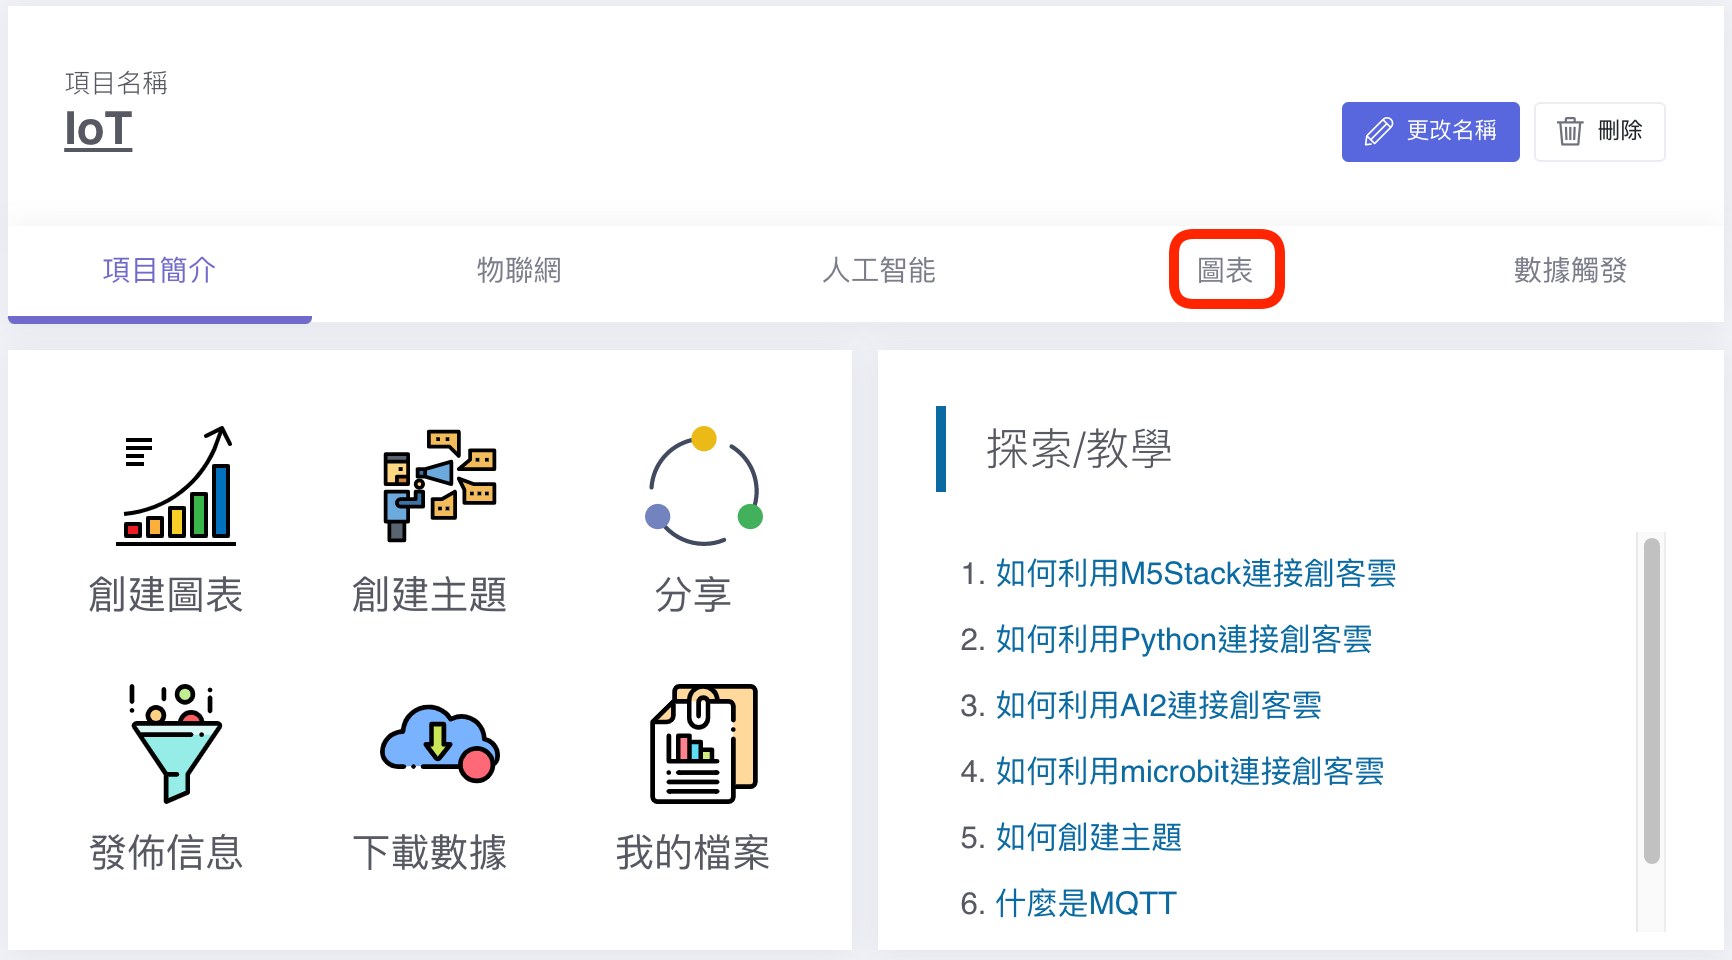
Then refresh the project home page and go to the chart home page.

MakerCloud will automatically record the name of the key and create a chart for the key-value messages.
