Using Arduino to publish messages
Before programming and publishing messages to MakerCloud, users must first learn how to connect Arduino to MakerCloud MQTT. For instructions, please refer here: Connecting to MakerCloud with Arduino
Publish a message
The following instructions demonstrate how to publish different kinds of data to MakerCloud.
MakerCloudClient.publish_message()
Publishes a text message to a topic on MakerCloud
MakerCloudClient.publish_message(topic, message)
Topic: The topic name pasted from MakerCloud
Message: The text message that is being published
MakerCloudClient.publish_key_message()
Publishes a key text message to a topic on MakerCloud
MakerCloudClient.publish_key_message(topic, key, message)
Topic: The topic name pasted from "MakerCloud"
Key: The key the message is being published on
Message: The text message that is being published
MakerCloudClient.publish_key_value()
Publish a key-value pair message to a topic on MakerCloud, which automatically creates a corresponding line chart on MakerCloud
MakerCloudClient.publish_key_value(topic, key, value)
Topic: The topic name pasted from "MakerCloud"
Key: The key that the message is being published on
Value: The value that is being published
MakerCloudClient.publish_coordination()
Publishes a key-value pair message to a topic on MakerCloud, which automatically creates a corresponding line chart on MakerCloud
MakerCloudClient.publish_coordination(topic, latitude, longitude)
Topic: The topic name pasted from "MakerCloud"
Latitude: The latitude being published
Longitude: The longitude being published
Exercise - Publishing to MakerCloud
Publishing Text Messages
Learning Focus
- Learn how to use Arduino to publish text messages to topics on MakerCloud
Exercise
Receive text input and publish it to a topic on MakerCloud
Preparation on MakerCloud:
- Create a project and topic
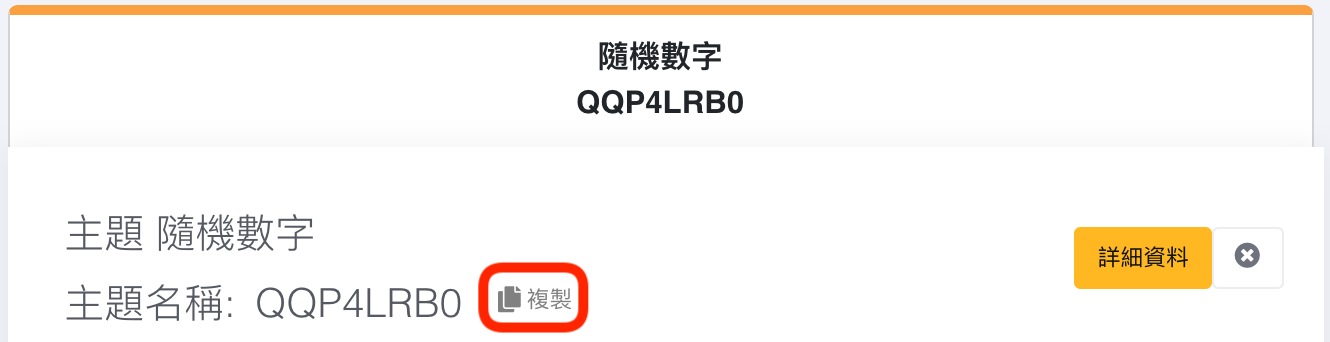
- Copy the topic name in MakerCloud

Programming in Arduino IDE:
EthernetClient ethClient;
MakerCloudMQTT MakerCloudClient(ethClient);

// This function connects Wi-Fi
void setup_wifi() {

}

void setup() {
  Serial.begin(115200);

  // MakerCloudMQTT Configuration
  MakerCloudClient.setUsername("Max");
  // Enable to print extra log
  MakerCloudClient.setLog(true);

  // Connect Wi-Fi
  setup_wifi();

  // Connect to MakerCloud
  MakerCloudClient.connect();
}

// The looping function will allow sending message to MakerCloud
void loop() {
  // Publish message
  MakerCloudClient.publish_message(topic, "hello from arduino");
  delay(2000);
}
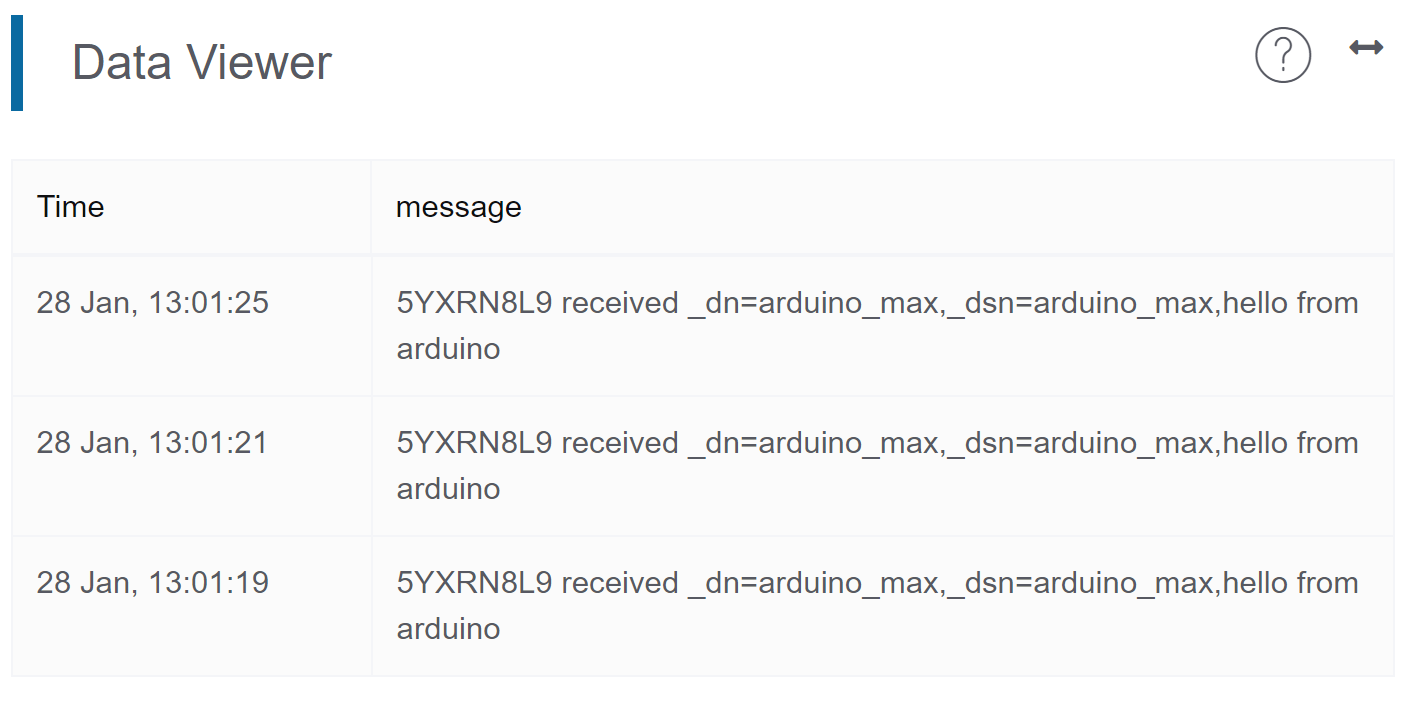
After uploading the programming, return to the project homepage on MakerCloud. In the real-time data viewer, you should see the text messages published from the Arduino.
Publishing key-value pair messages
Learning Focus
- Learn how to publish key-value pairs to MakerCloud topics via Arduino
- Learn how to create a line graph on MakerCloud to display and record key-value pair messages
Exercise-Publish random numbers
Goals
- Publish key-value pair messages (random numbers) to MakerCloud
- Create a line graph on MakerCloud to display key-value pairs
Preparation on MakerCloud:
- Create a project
- Create a topic
- Copy the topic name in MakerCloud
Programming in Arduino IDE:
EthernetClient ethClient;
MakerCloudMQTT MakerCloudClient(ethClient);

// This function connects Wi-Fi
void setup_wifi() {

}

void setup() {
  Serial.begin(115200);
  randomSeed(analogRead(0));

  // MakerCloudMQTT Configuration
  MakerCloudClient.setUsername("Max");
  // Enable to print extra log
  MakerCloudClient.setLog(true);

  // Connect Wi-Fi
  setup_wifi();

  // Connect to MakerCloud
  MakerCloudClient.connect();
}

// The looping function will allow sending key-value to MakerCloud
void loop() {
  // Publish Key-Value Pair
  int randNumber = random(0, 9);
  MakerCloudClient.publish_key_value(topic, "num", randNumber);
  delay(2000);
}
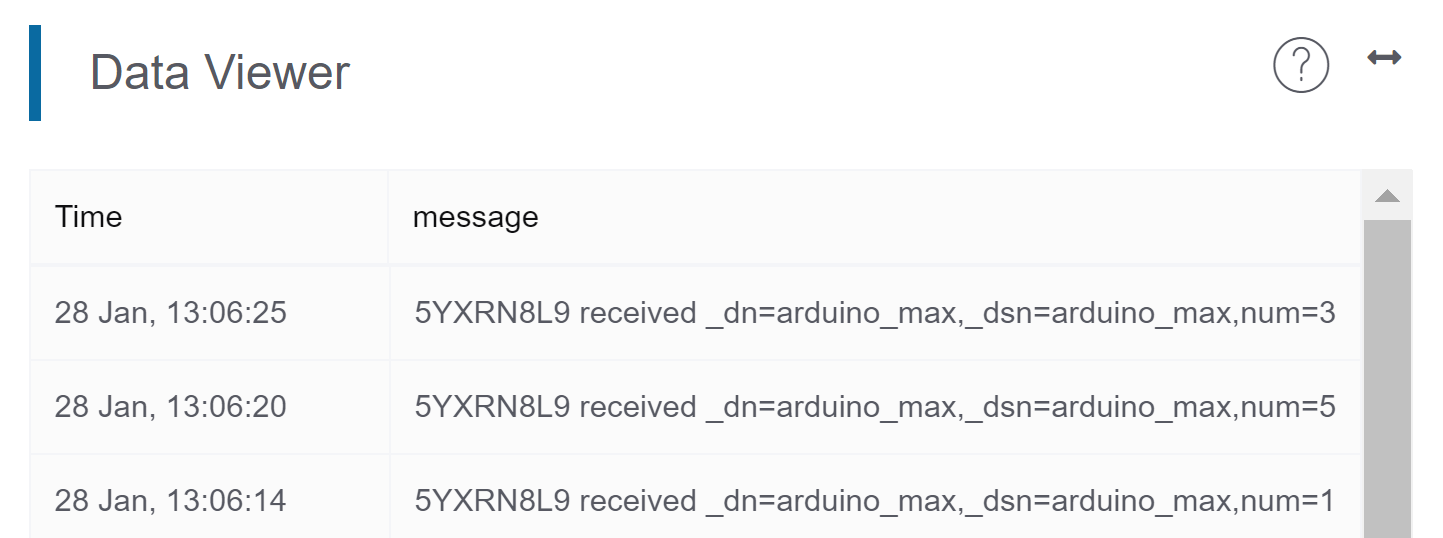
After uploading the programming, return to your project's homepage on MakerCloud. You should see the key-value pair messages that have been published from the Arduino in the real-time data viewer.
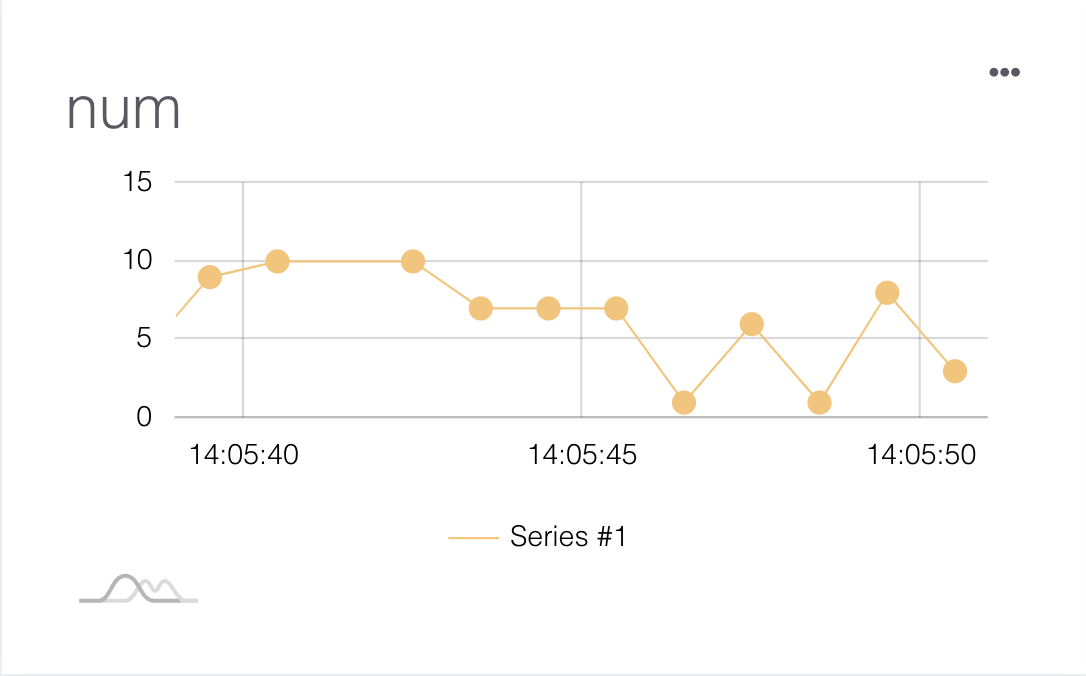
Then refresh the project homepage and go to the chart homepage.
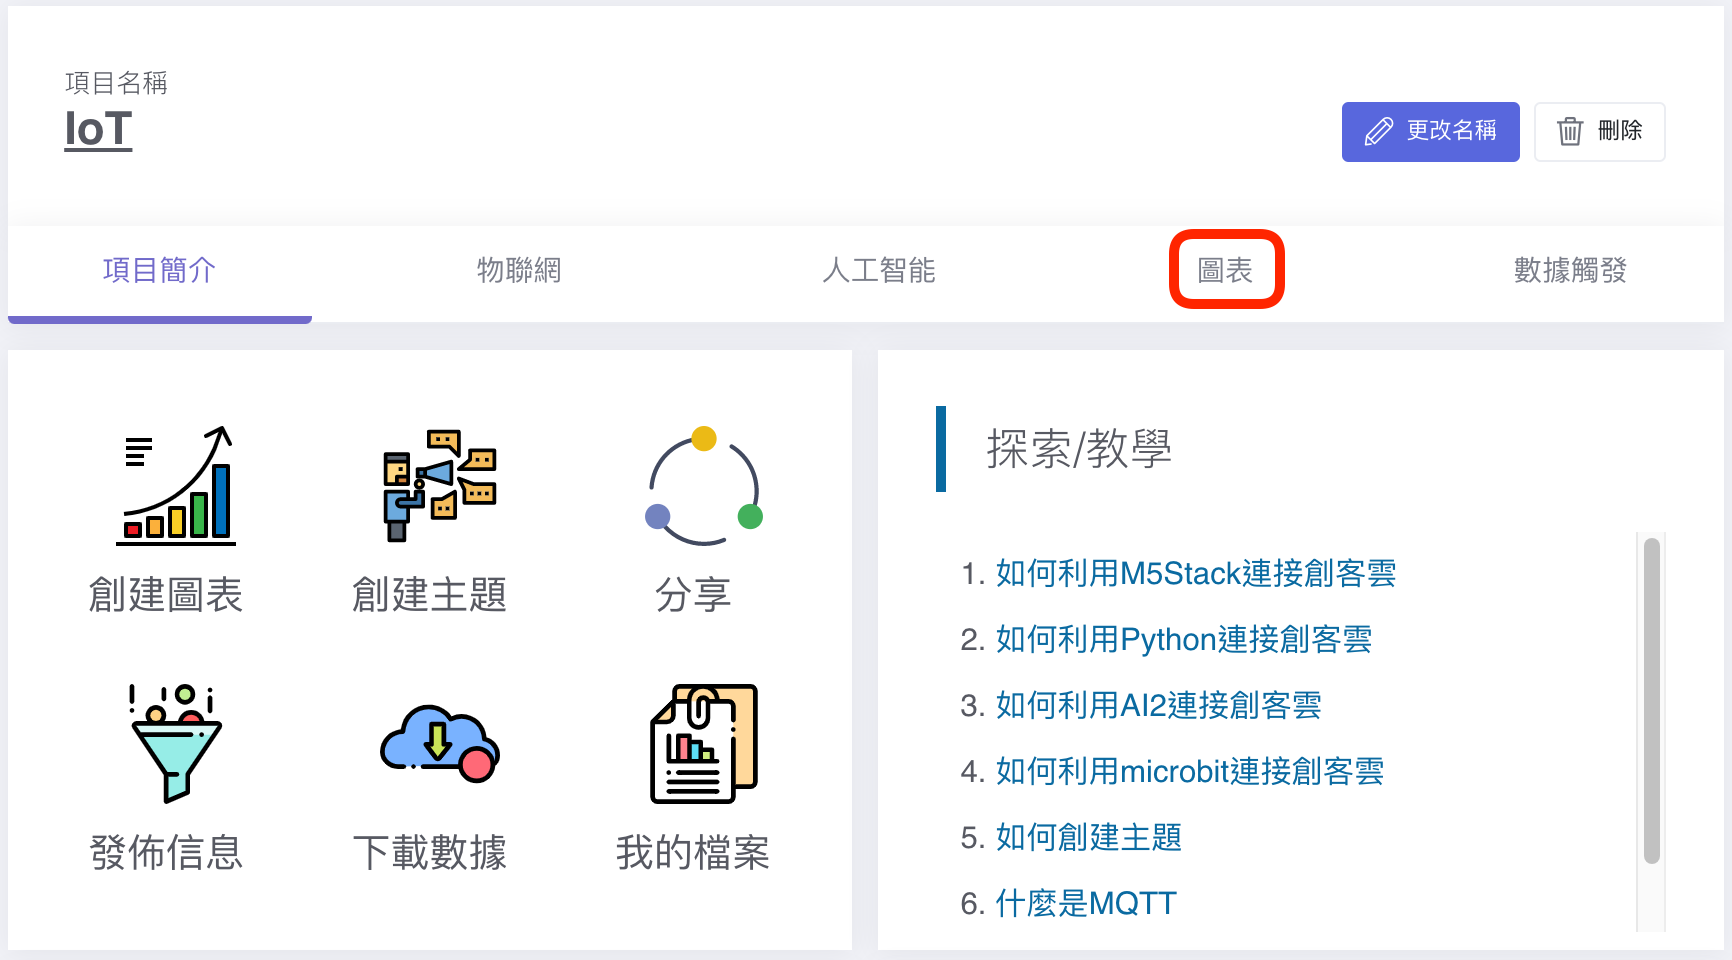
MakerCloud will automatically record the key and create a chart for it.