Projects
Creating a Project
- After logging into MakerCloud, click "Create Project".
- Enter the project name and click "Yes and Confirm".
- Click "OK".
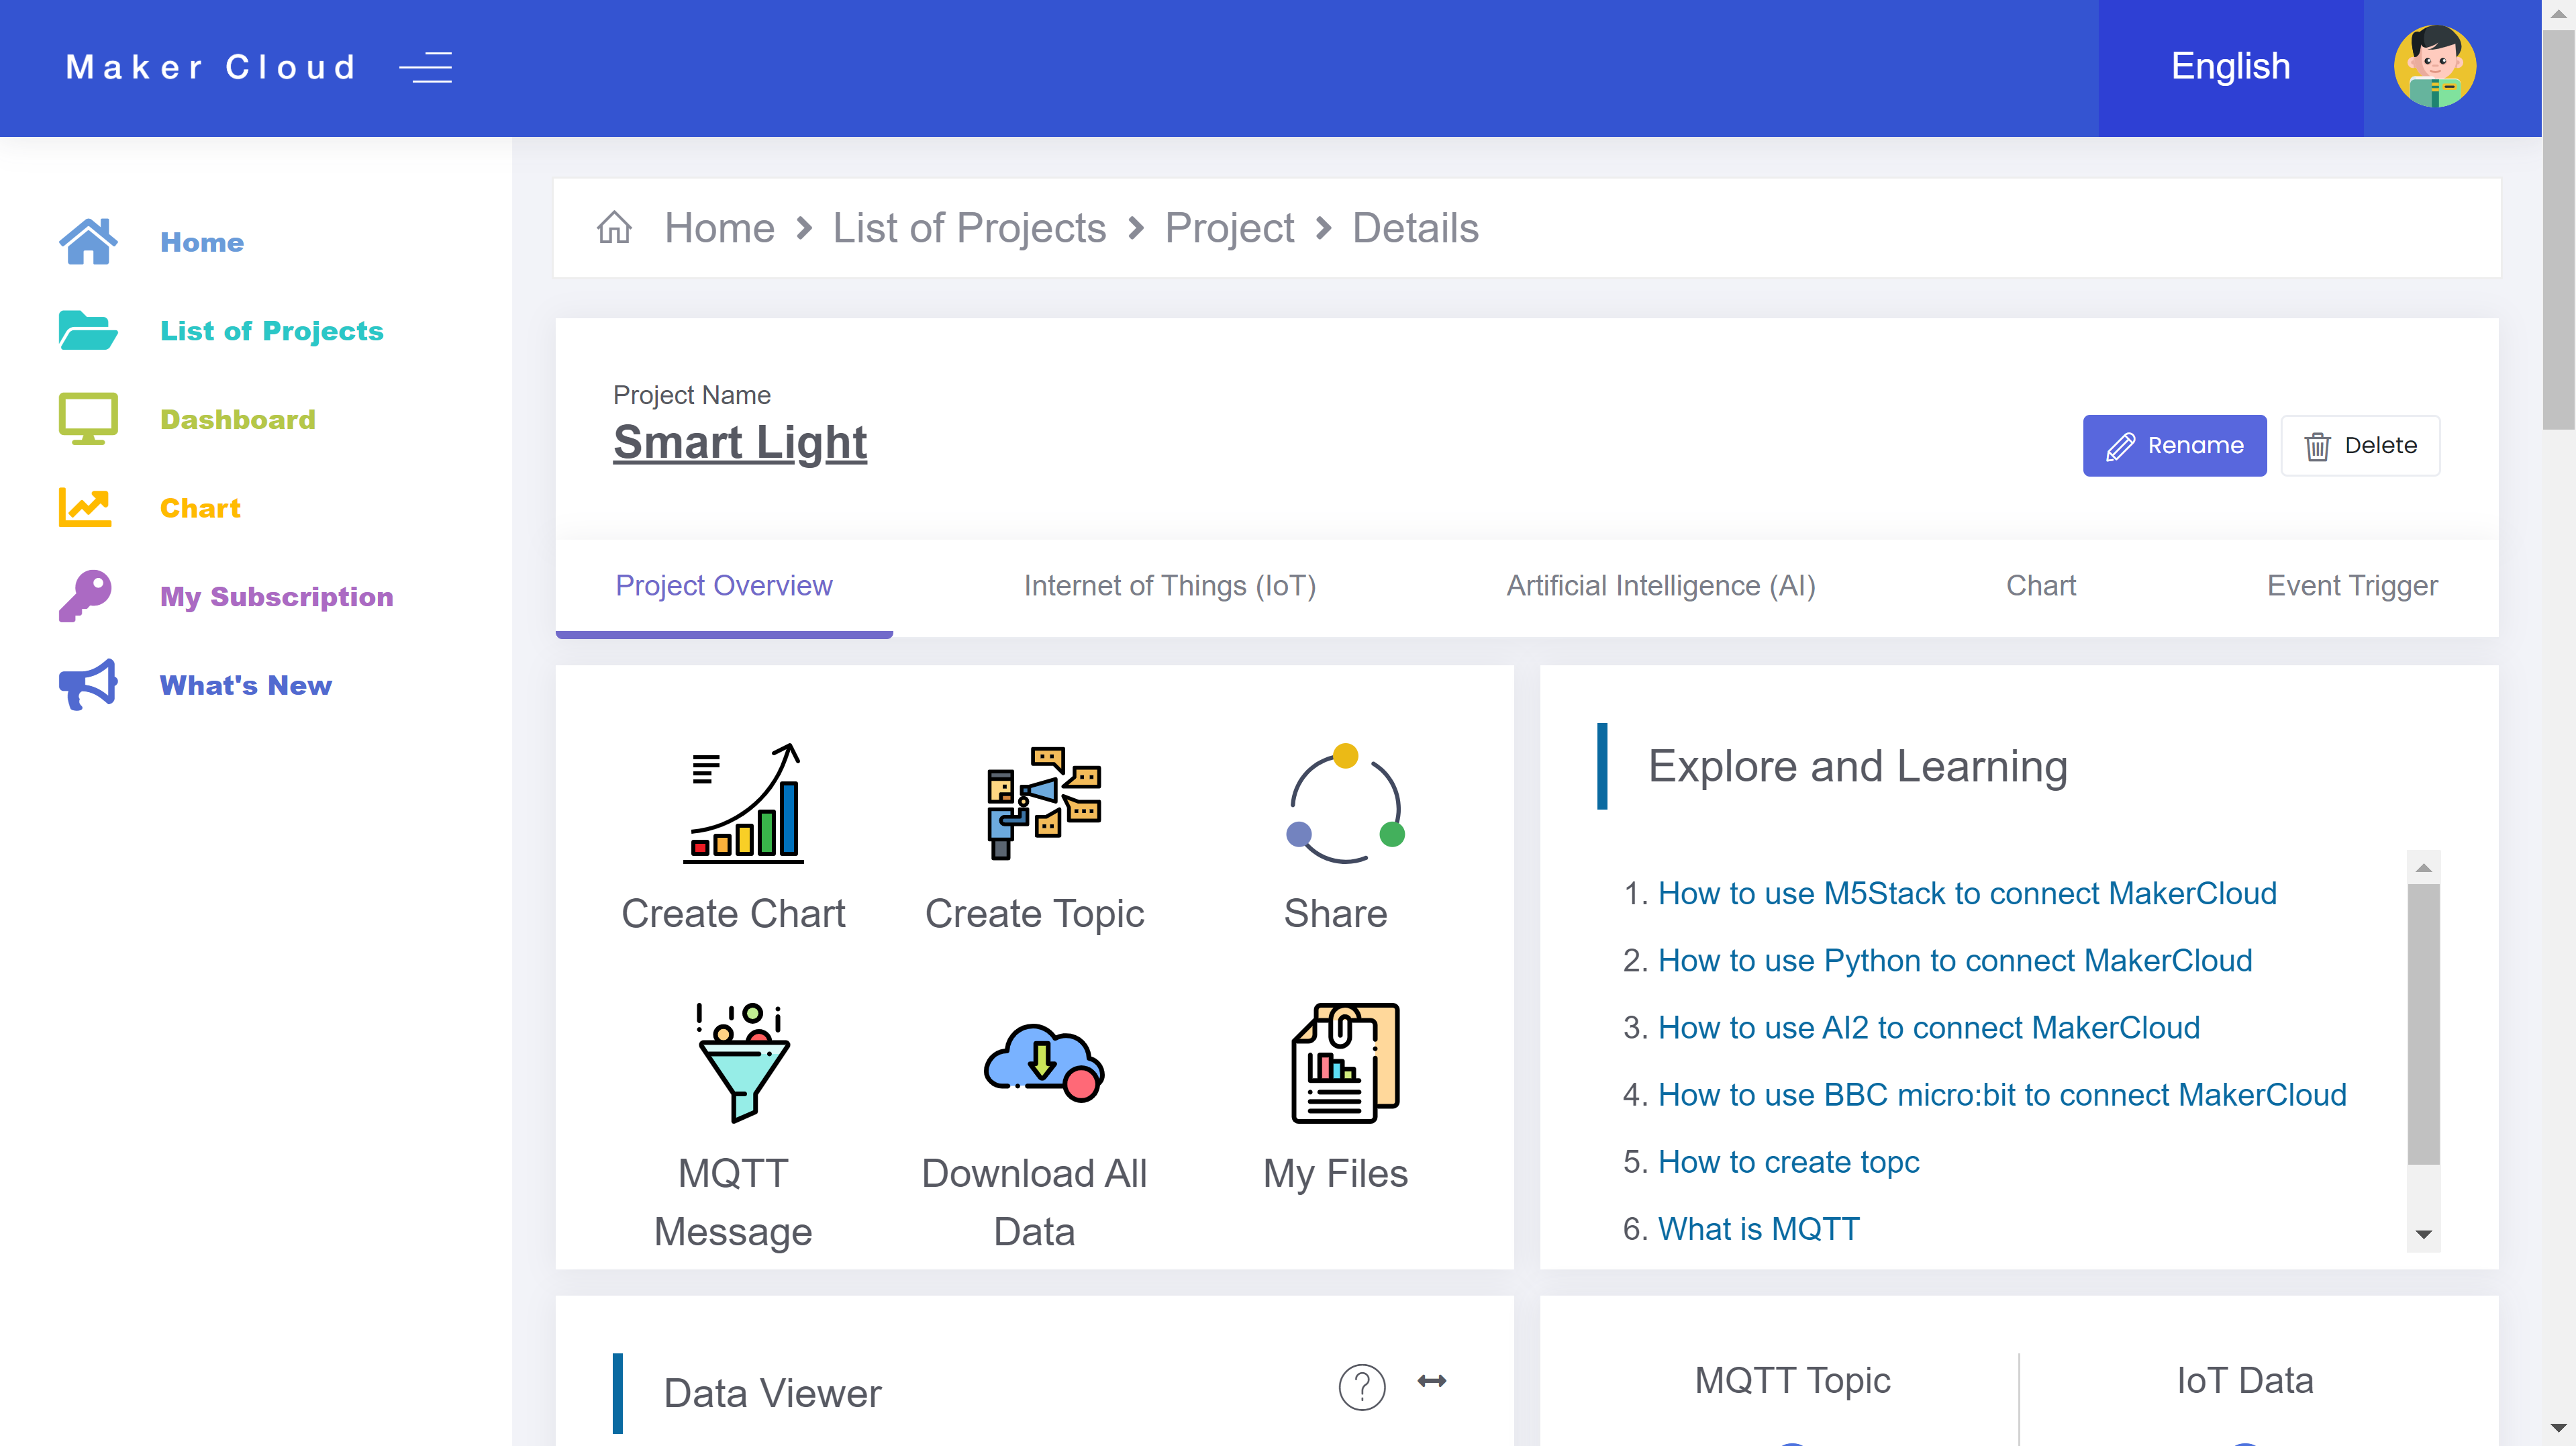
After successfully creating the project, you will enter the project homepage.
Changing the Project Name
- Go to the project homepage and click the "Rename" button.
- Change the project name and click "Yes and confirm".
- Click "OK".
Sharing your Project
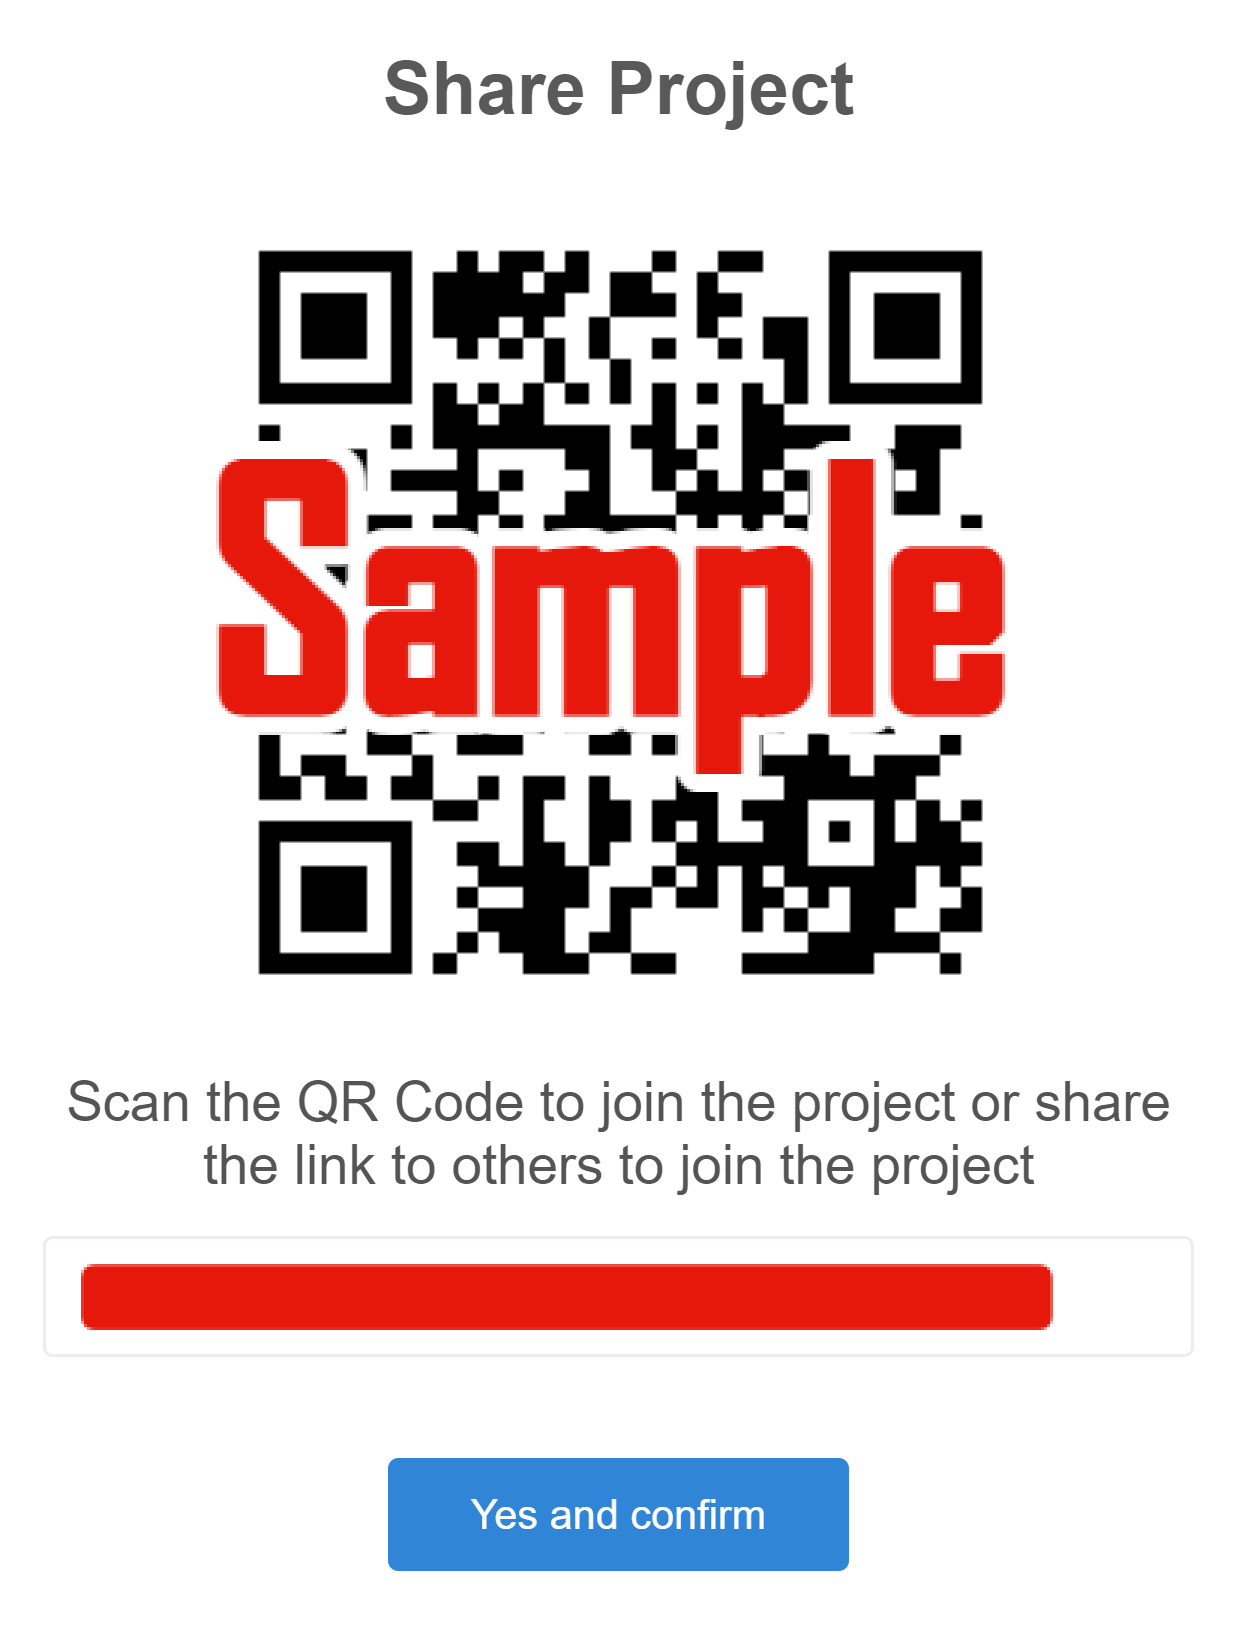
Users can share links or QR codes with other users so different users can collaborate on the same project.
- Click the "Share" button.
- Send the link or QR code to other MakerCloud users.
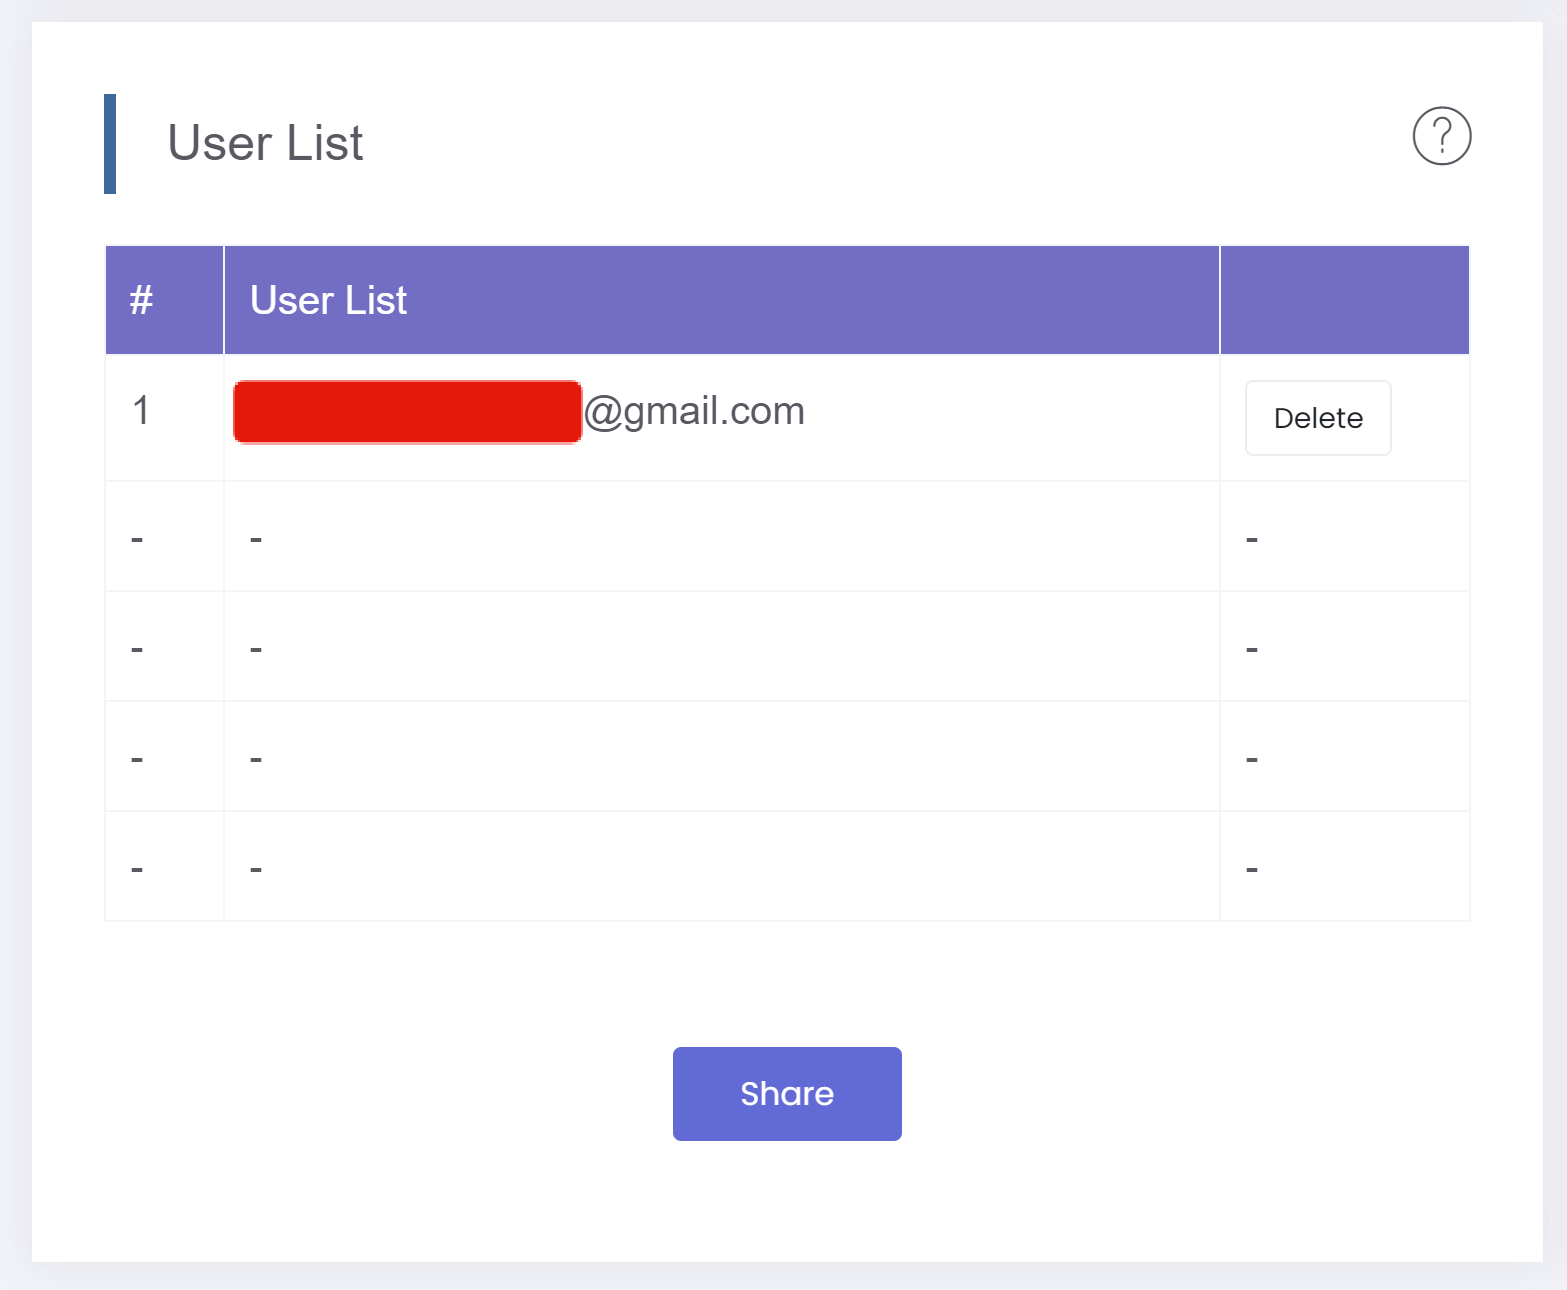
When other MakerCloud users join the project, they will see their email addresses in the user list.

Joining the same project allows for collaboration between users.
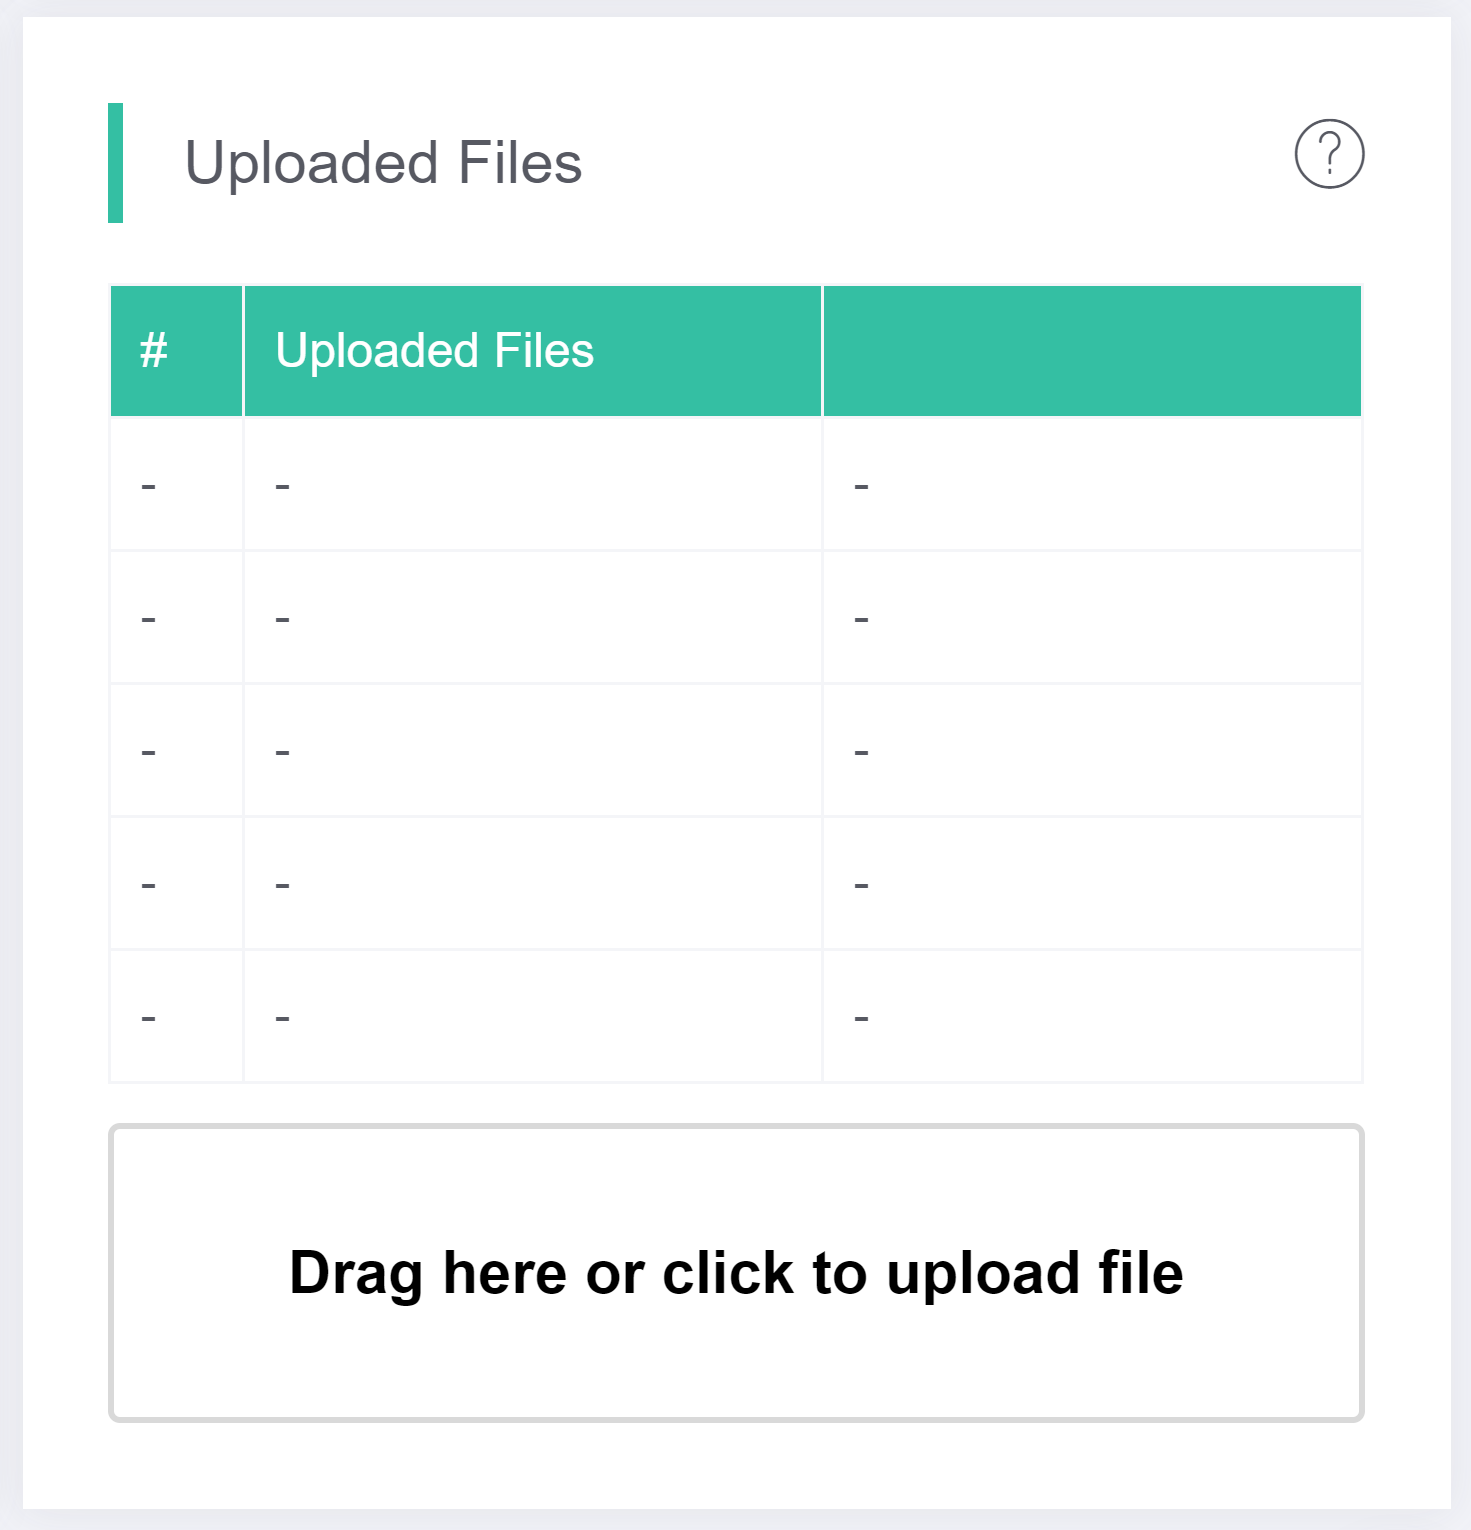
Uploading Files
Users may upload files to MakerCloud projects, such as micro:bit program files, notes, etc., to make them available to all the project's collaborators.
In the file list, click "Upload File" or drag the selected file into the file list to upload the file.