Using App Inventor 2 to publish messages
Before publishing messages to MakerCloud, users must first learn how to connect App Inventor 2 to MakerCloud via MQTT. For the connection method, please refer to the above instruction. Using App Inventor 2 to Connect to MakerCloud
Publish Message Program Blocks
In the AI2 extension of MakerCloud, there are different types of publish program blocks depending on the type of data being sent.
Publish a text message
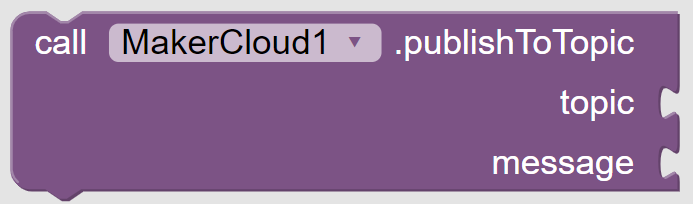
Publishes a text message to a topic on MakerCloud
Publish a text message with a key
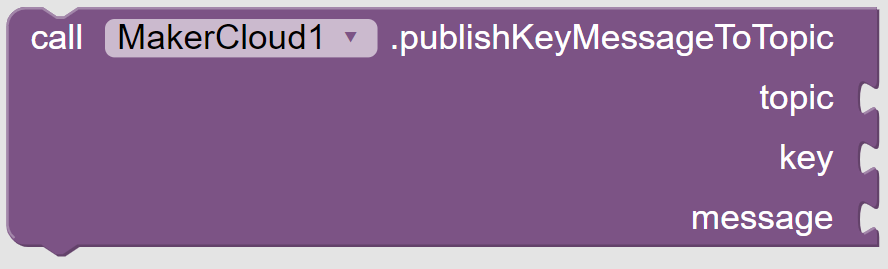
Publishes a text message with a key to a topic on MakerCloud
Publish key-value pair message
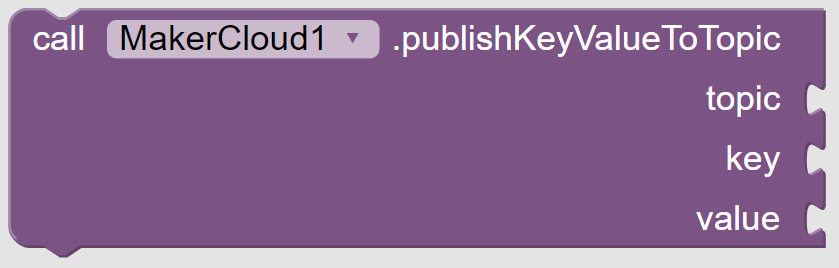
Publishes a key-value pair message on MakerCloud to a topic, and a corresponding line chart will be automatically created on MakerCloud
Publish latitude and longitude information
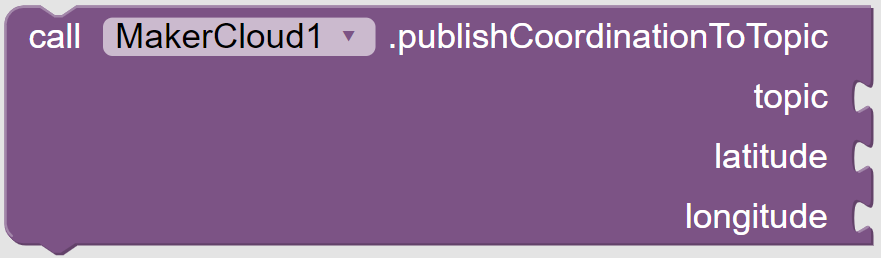
Publishes a latitude and longitude message to a topic via KittenWiFi on MakerCloud
Publishing a text message
Learning Focus
- Learn how to use App Inventor 2 to publish text messages to a topic on MakerCloud
Exercise
Make a button that publishes the text in the input box on MakerCloud when clicked.

Preparation on MakerCloud:
- Create a project
- Create a topic
Programming on AI2:
- Add project
- Join MakerCloud AI2 extension MakerCloud AI2 extension (right click to save a new file)
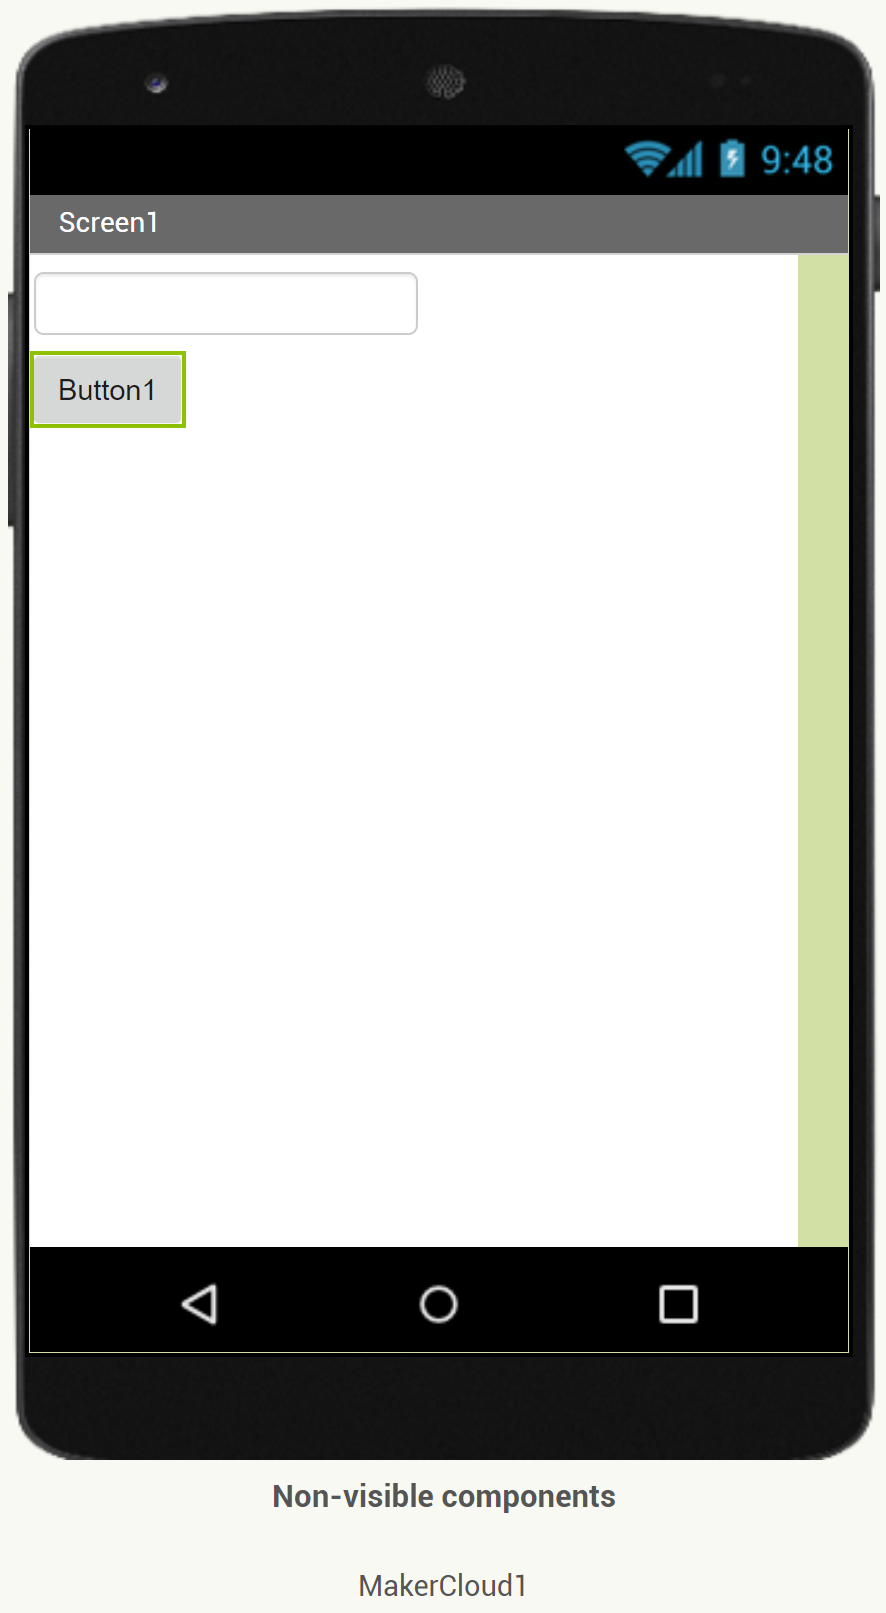
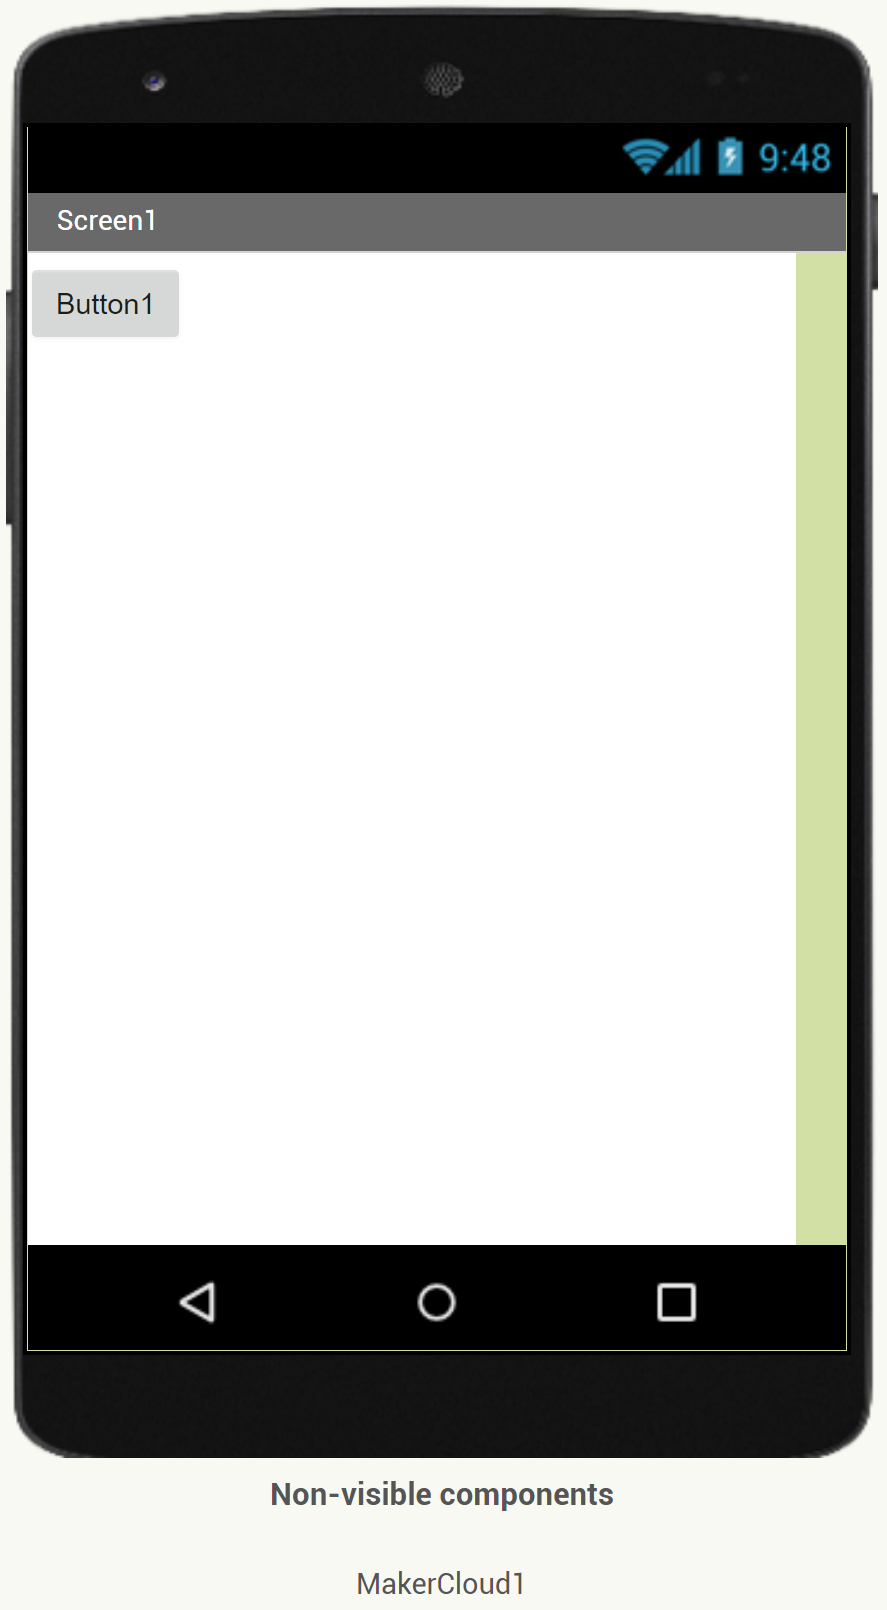
- Add a text input box, button and add the MakerCloud extension
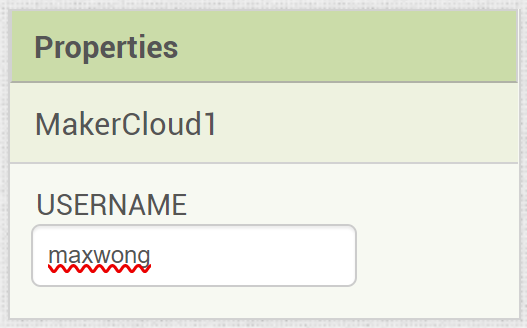
- In the component properties of MakerCloud, set the USERNAME to "maxwong"
Designing the program
- Place the "Connect MakerCloud MQTT" program Block inside the "When Screen1 .Initialize" block.
- When "Button 1" is clicked, publish the text in the input box to MakerCloud

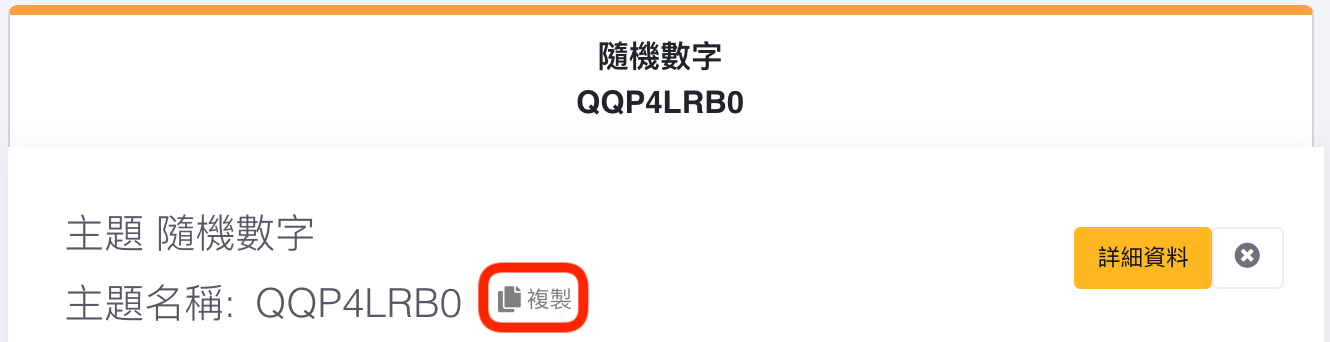
- Copy the topic name in MakerCloud
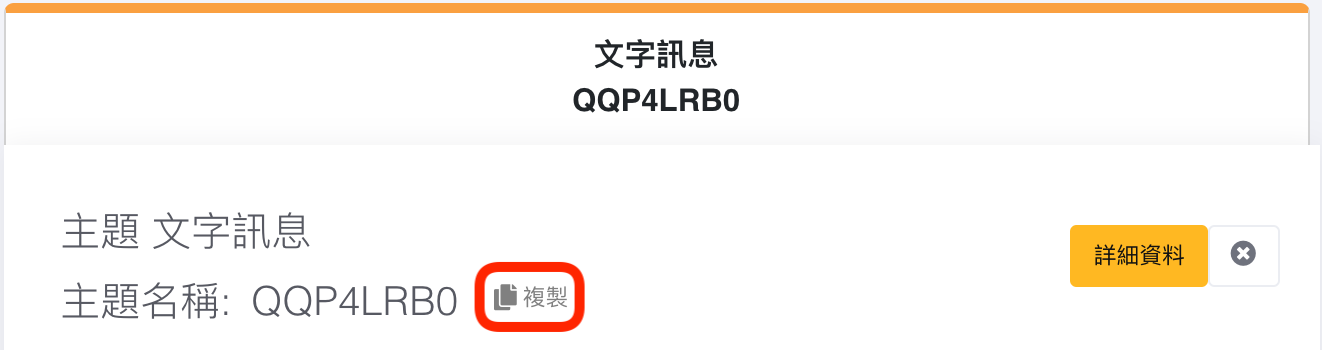
- In AI2, paste the topic name in "topic"
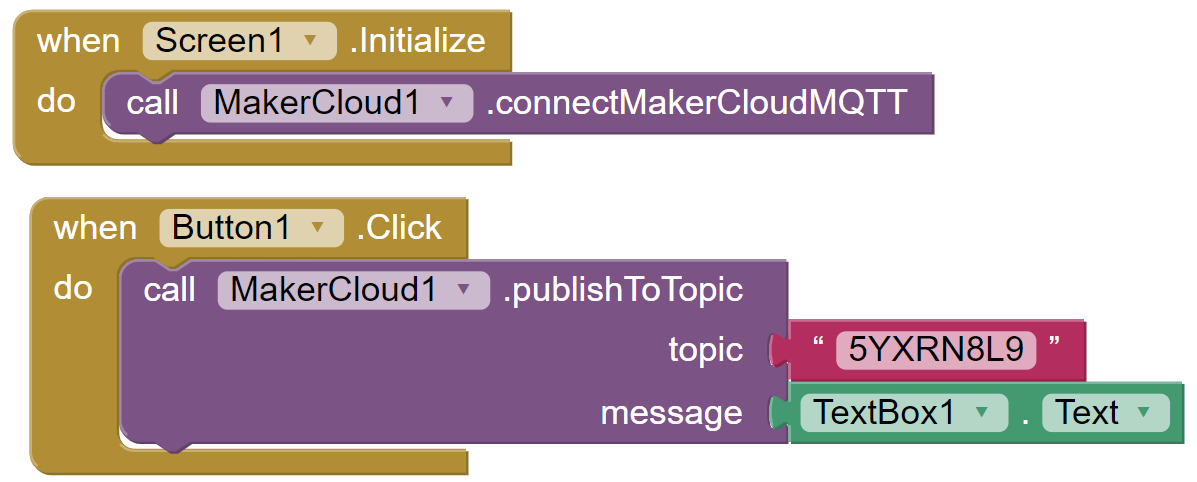
This completes the AI2 programming of publishing text.
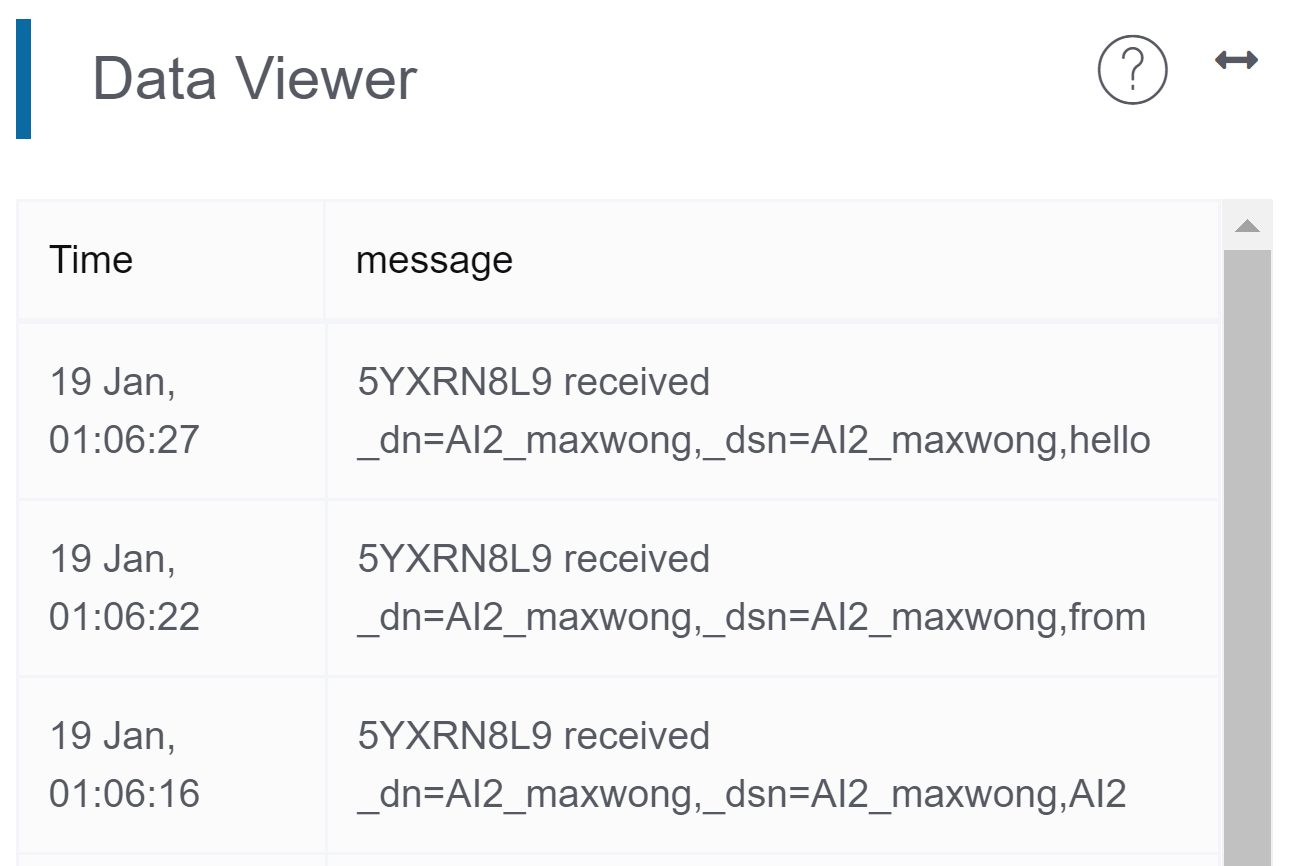
On the project homepage of MakerCloud, you should see the text messages published from your app in the data viewer.
Publishing a key-value pair message
Learning Focus
- Learn how to use App Inventor 2 to publish key-value pairs to a MakerCloud topic
- Learn to create a line graph on MakerCloud to express key-value pair messages
Exercise: publish random numbers
- Make a button that publishes a random key-value pair to MakerCloud when clicked
- Create a line graph on MakerCloud to display key-value pairs

Preparation on MakerCloud
- Create a project
- Create a topic
Then you can program on AI2:
- Add a project
- Download the MakerCloud AI2 extension MakerCloud AI2 extension (right click to save a new file)
- Add a "Button" and add the "MakerCloud" extension
- In the properties section of MakerCloud, set the USERNAME to "maxwong"
Designing the Program
- Place the "connect MakerCloud MQTT" inside the "When Screen1 .Initialize"
- Add the "publish Key Value To Topic" block to "When button1 is clicked"
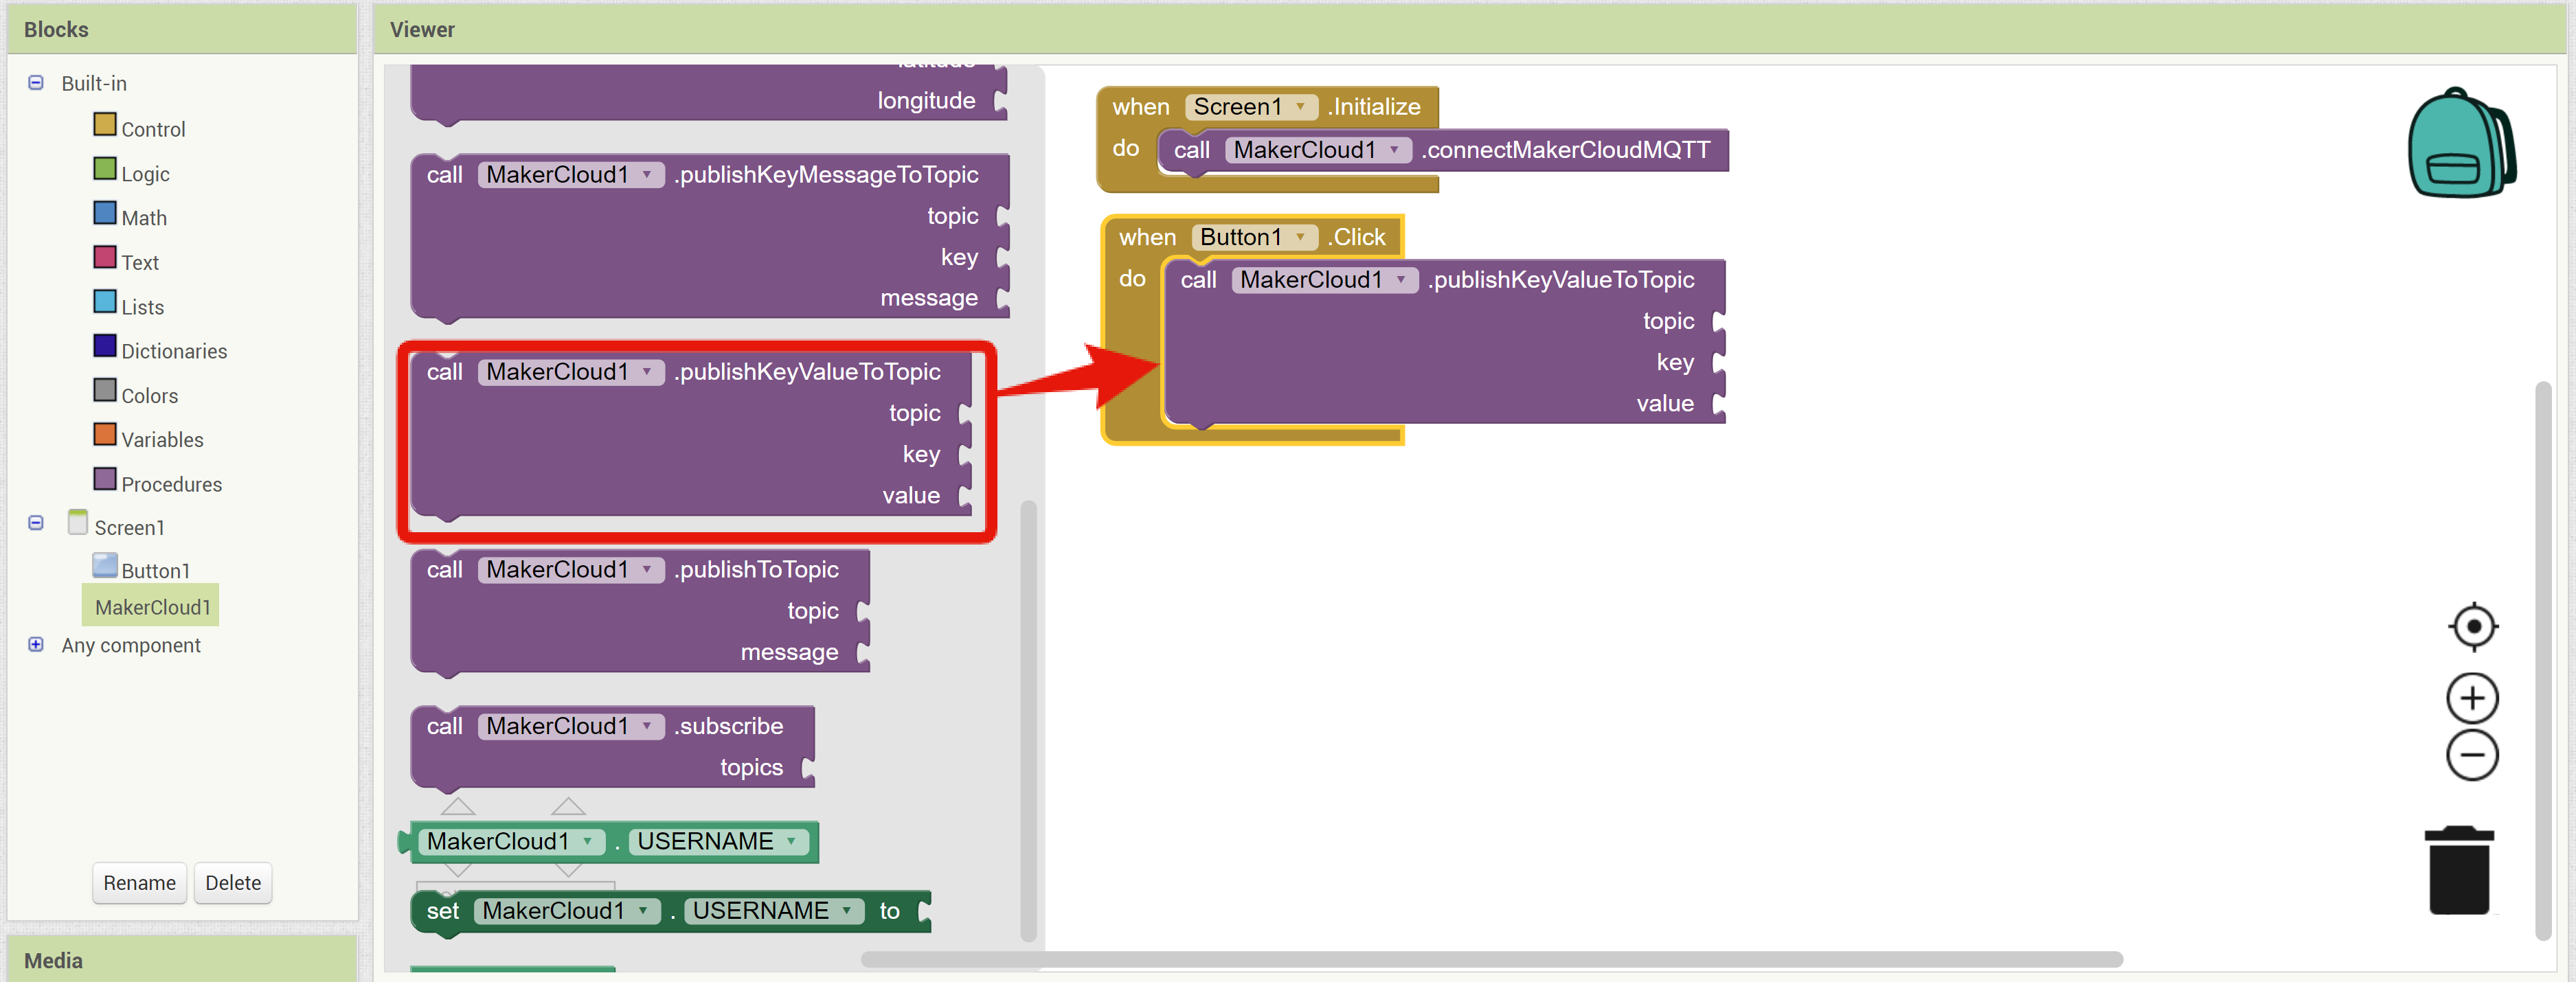
Note: There are publish key text pair and publish key-value pair blocks, and users can use either one, depending on the data type they would like to publish 3. Copy the topic name in MakerCloud
- Paste the topic name in "Topic", enter "num" in "key", and add a "random integer from 0 to 10" block in "value"

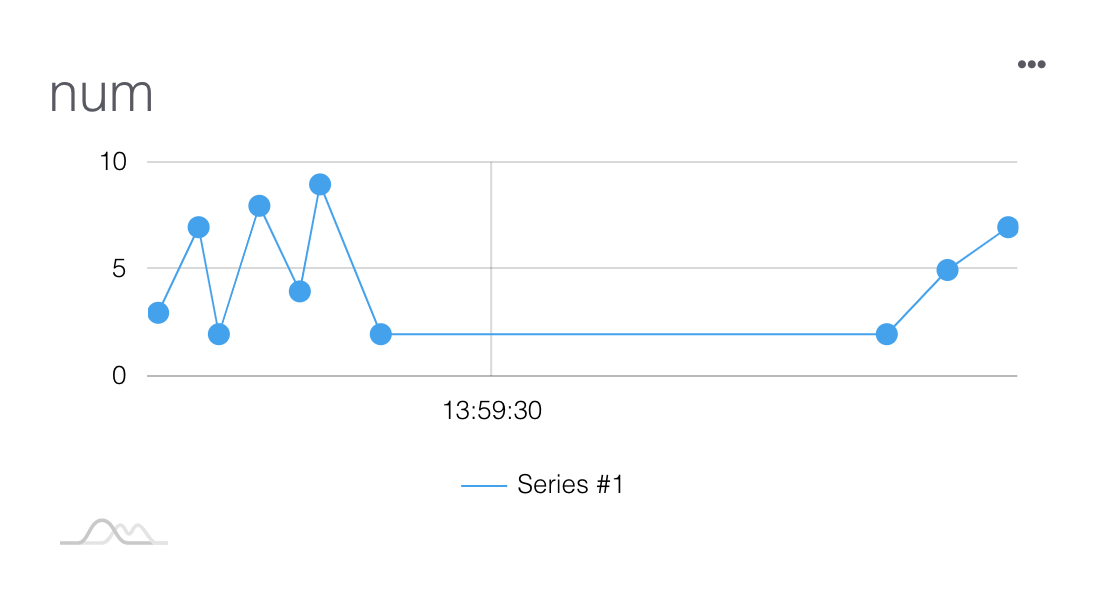
When Finished, return to the project homepage of MakerCloud. When you click the button, you should see the key-value pair message from your app in the real-time data viewer.
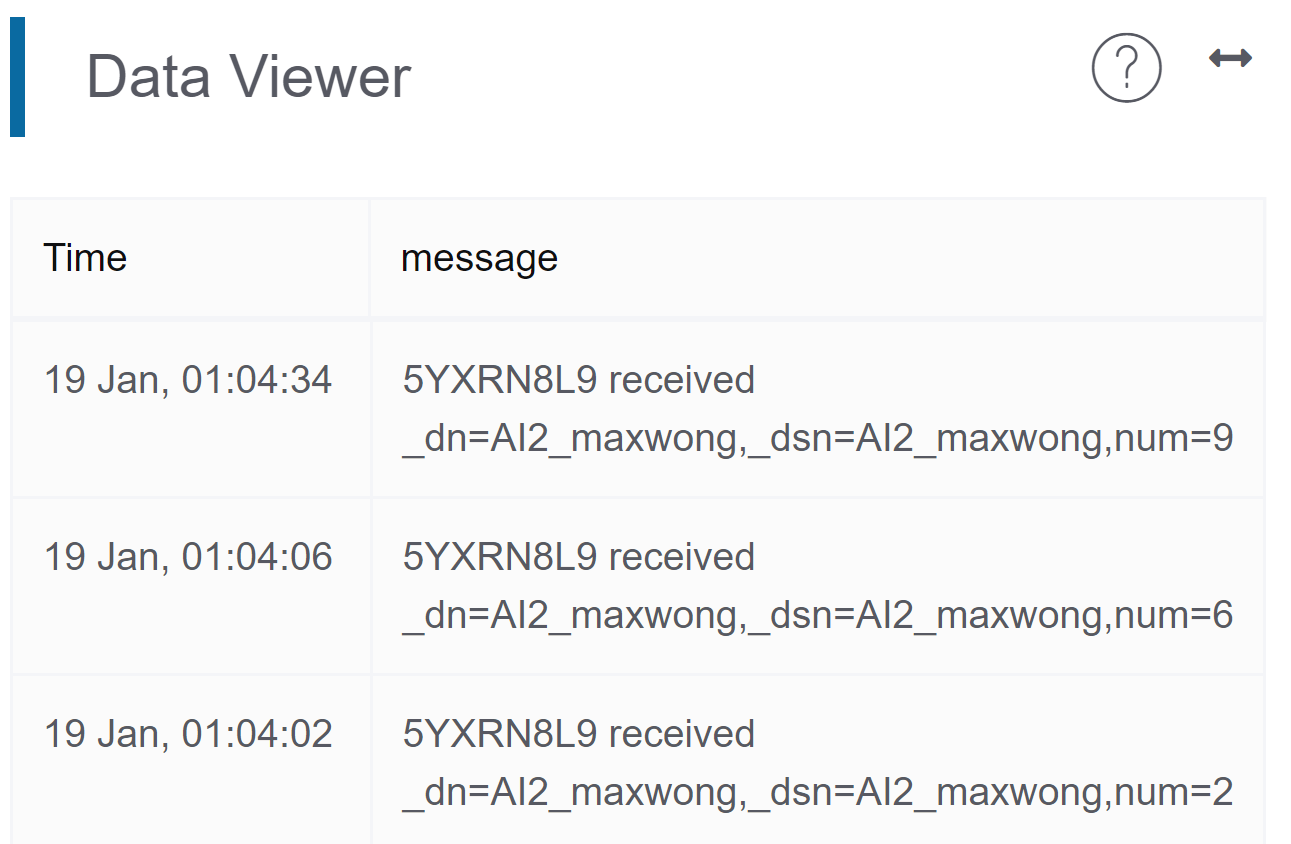
Then refresh the project home page and go to the chart home page.
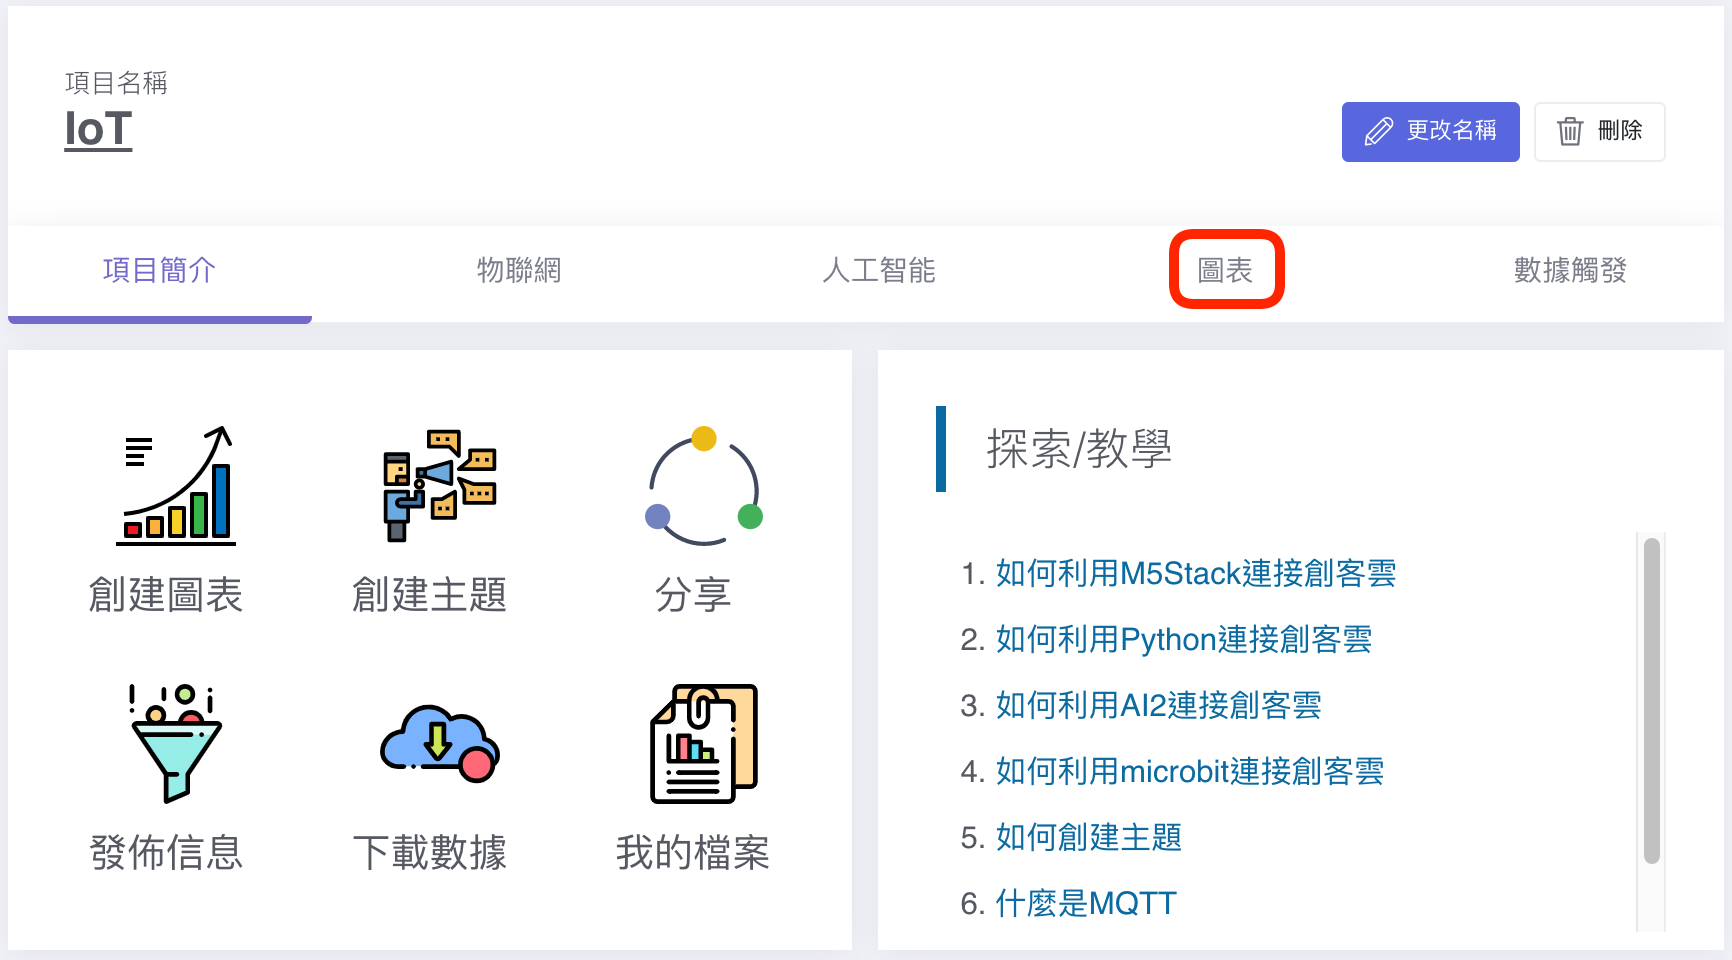
MakerCloud will automatically record the name of the key and create a chart for that key, recording it as a data type.