Using BBC micro:bit to connect to MakerCloud
- Since the BBC micro:bit cannot connect to the Internet, a Wi-Fi module must be added to enable the micro:bit to connect to the Internet.
- There must be program blocks supporting MQTT in the Wi-Fi module program expansion in order for data to be published to MakerCloud.
- There are many Wi-Fi modules on the market that support MQTT, but the steps to connect to MQTT are usually complicated.
- For simplicity's sake, MakerCloud provides a micro:bit expansion for commonly used Wi-Fi modules in the market. The KittenWiFi module made by KittenBot is the recommended Wi-Fi module.
KittenWiFi
KittenWiFi can be used with several different micro:bit expansion boards, but KittenBot's Armour:bit and Robot:bit are recommended.
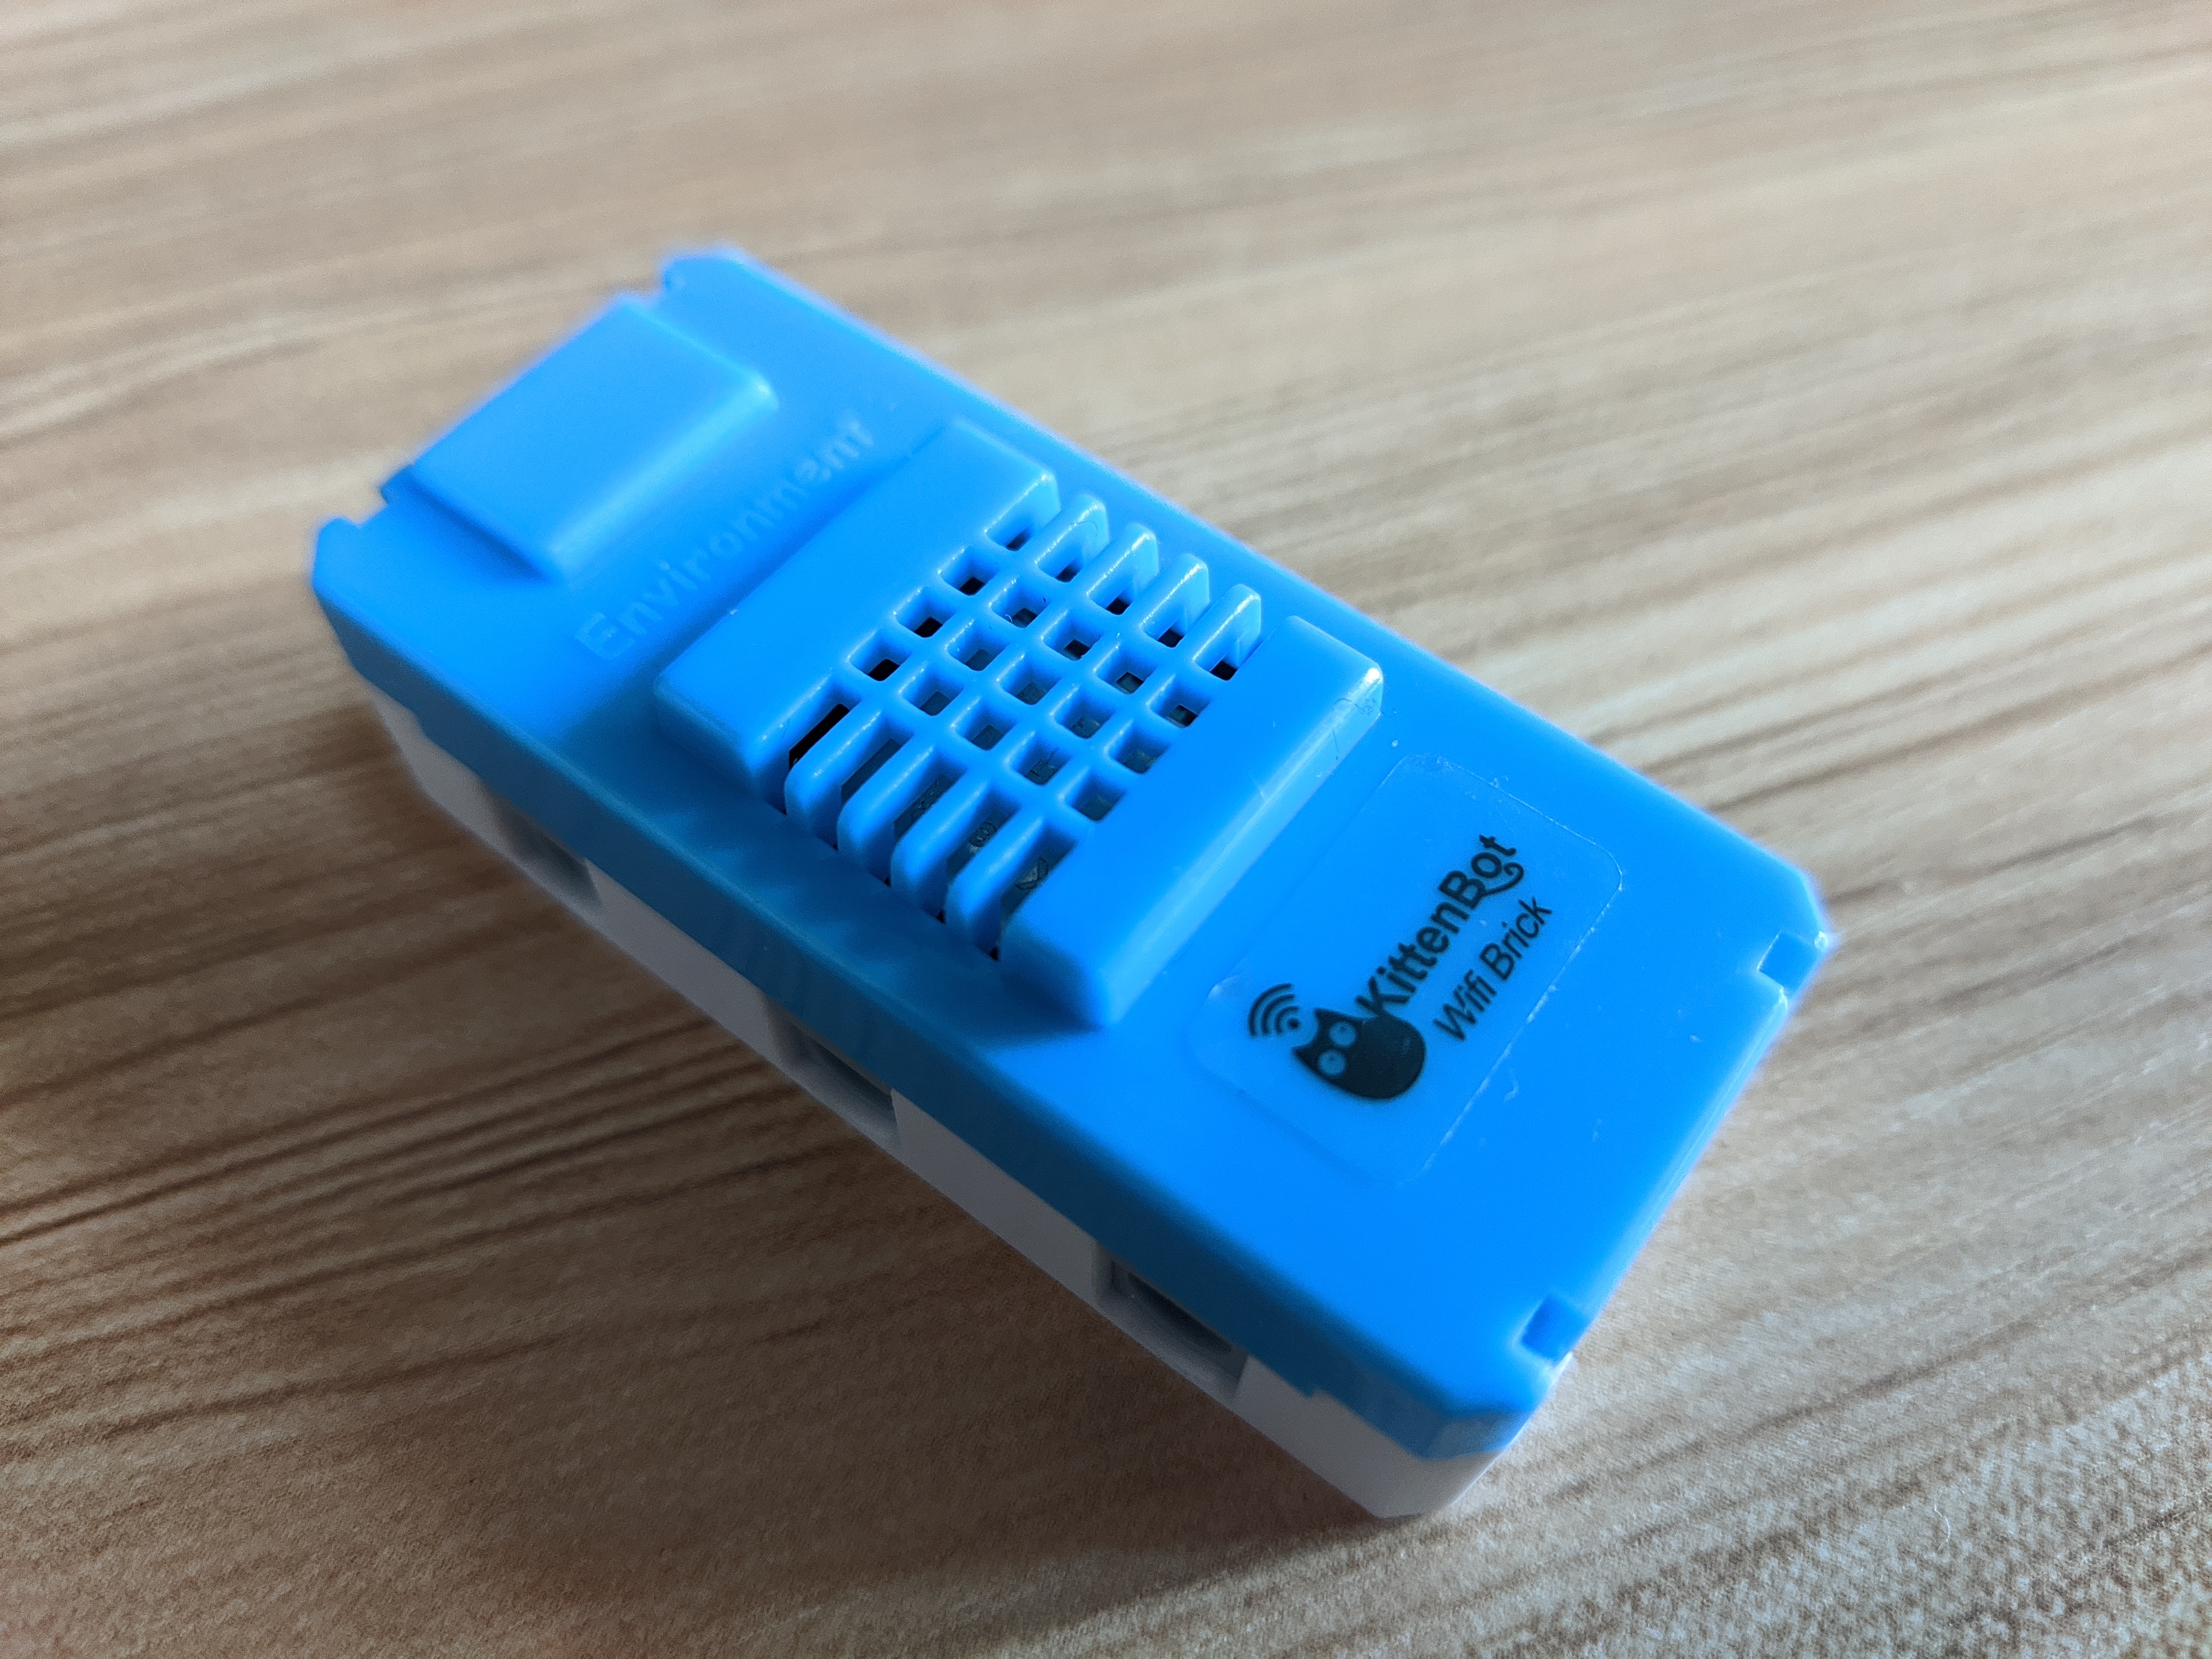
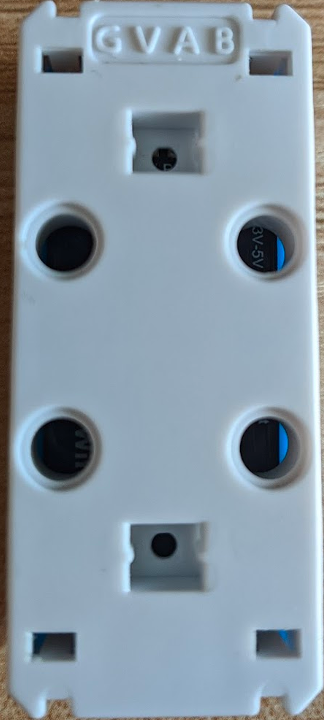
KittenWiFi uses a 4pin anti-reverse interface; the 4 interfaces are G, V, A, B.
- G ------------> Ground
- V ------------> 3.3v/5v
- A ------------> TX
- B ------------> RX
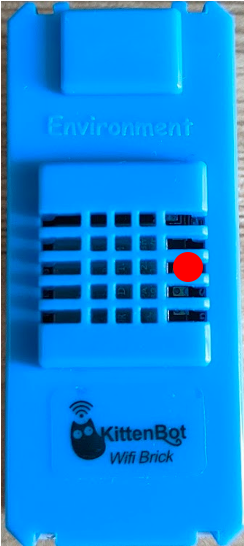
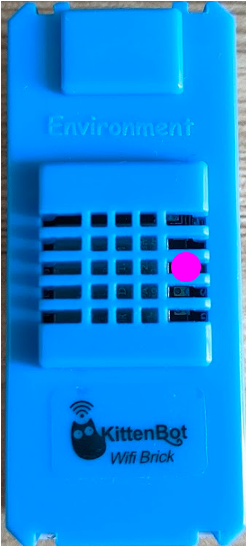
KittenWiFi Connection Status
There are two indicator lights on the front of the KittenWiFi block. The indicator light to the right indicates the connection status of the KittenWiFi.
| Red Light | Purple Light | Green Light |
|---|---|---|
 |
 |
 |
| Not Connected to Wi-Fi | Connecting to Wi-Fi | Connected to Wi-Fi |
With a brief understanding of KittenWiFi, we can connect it to different micro:bit expansion boards.
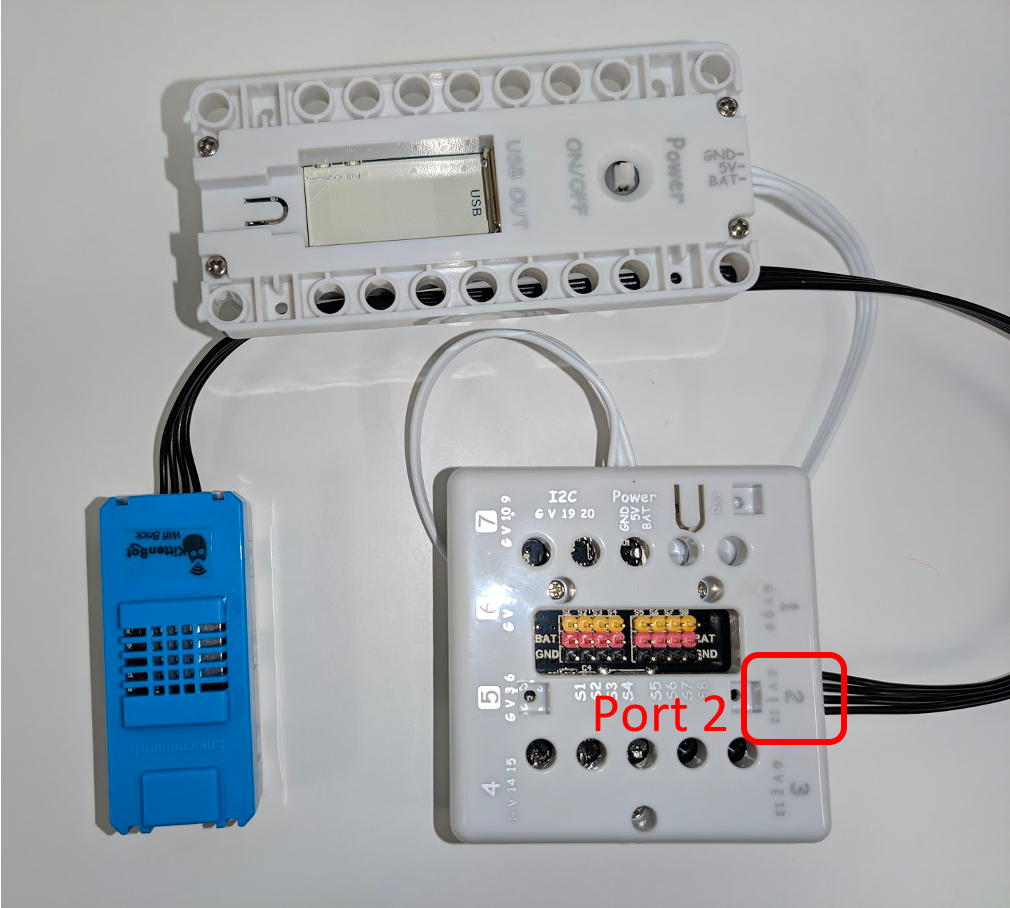
Armour:bit
Since Armour:bit also uses a 4pin anti-reverse interface, it will be convenient to use. Connect KittenWiFi to Port 2 of the Armour:bit.
Then you can program your KittenWifi on Makecode.
Makecode for micro:bit
https://makecode.microbit.org/
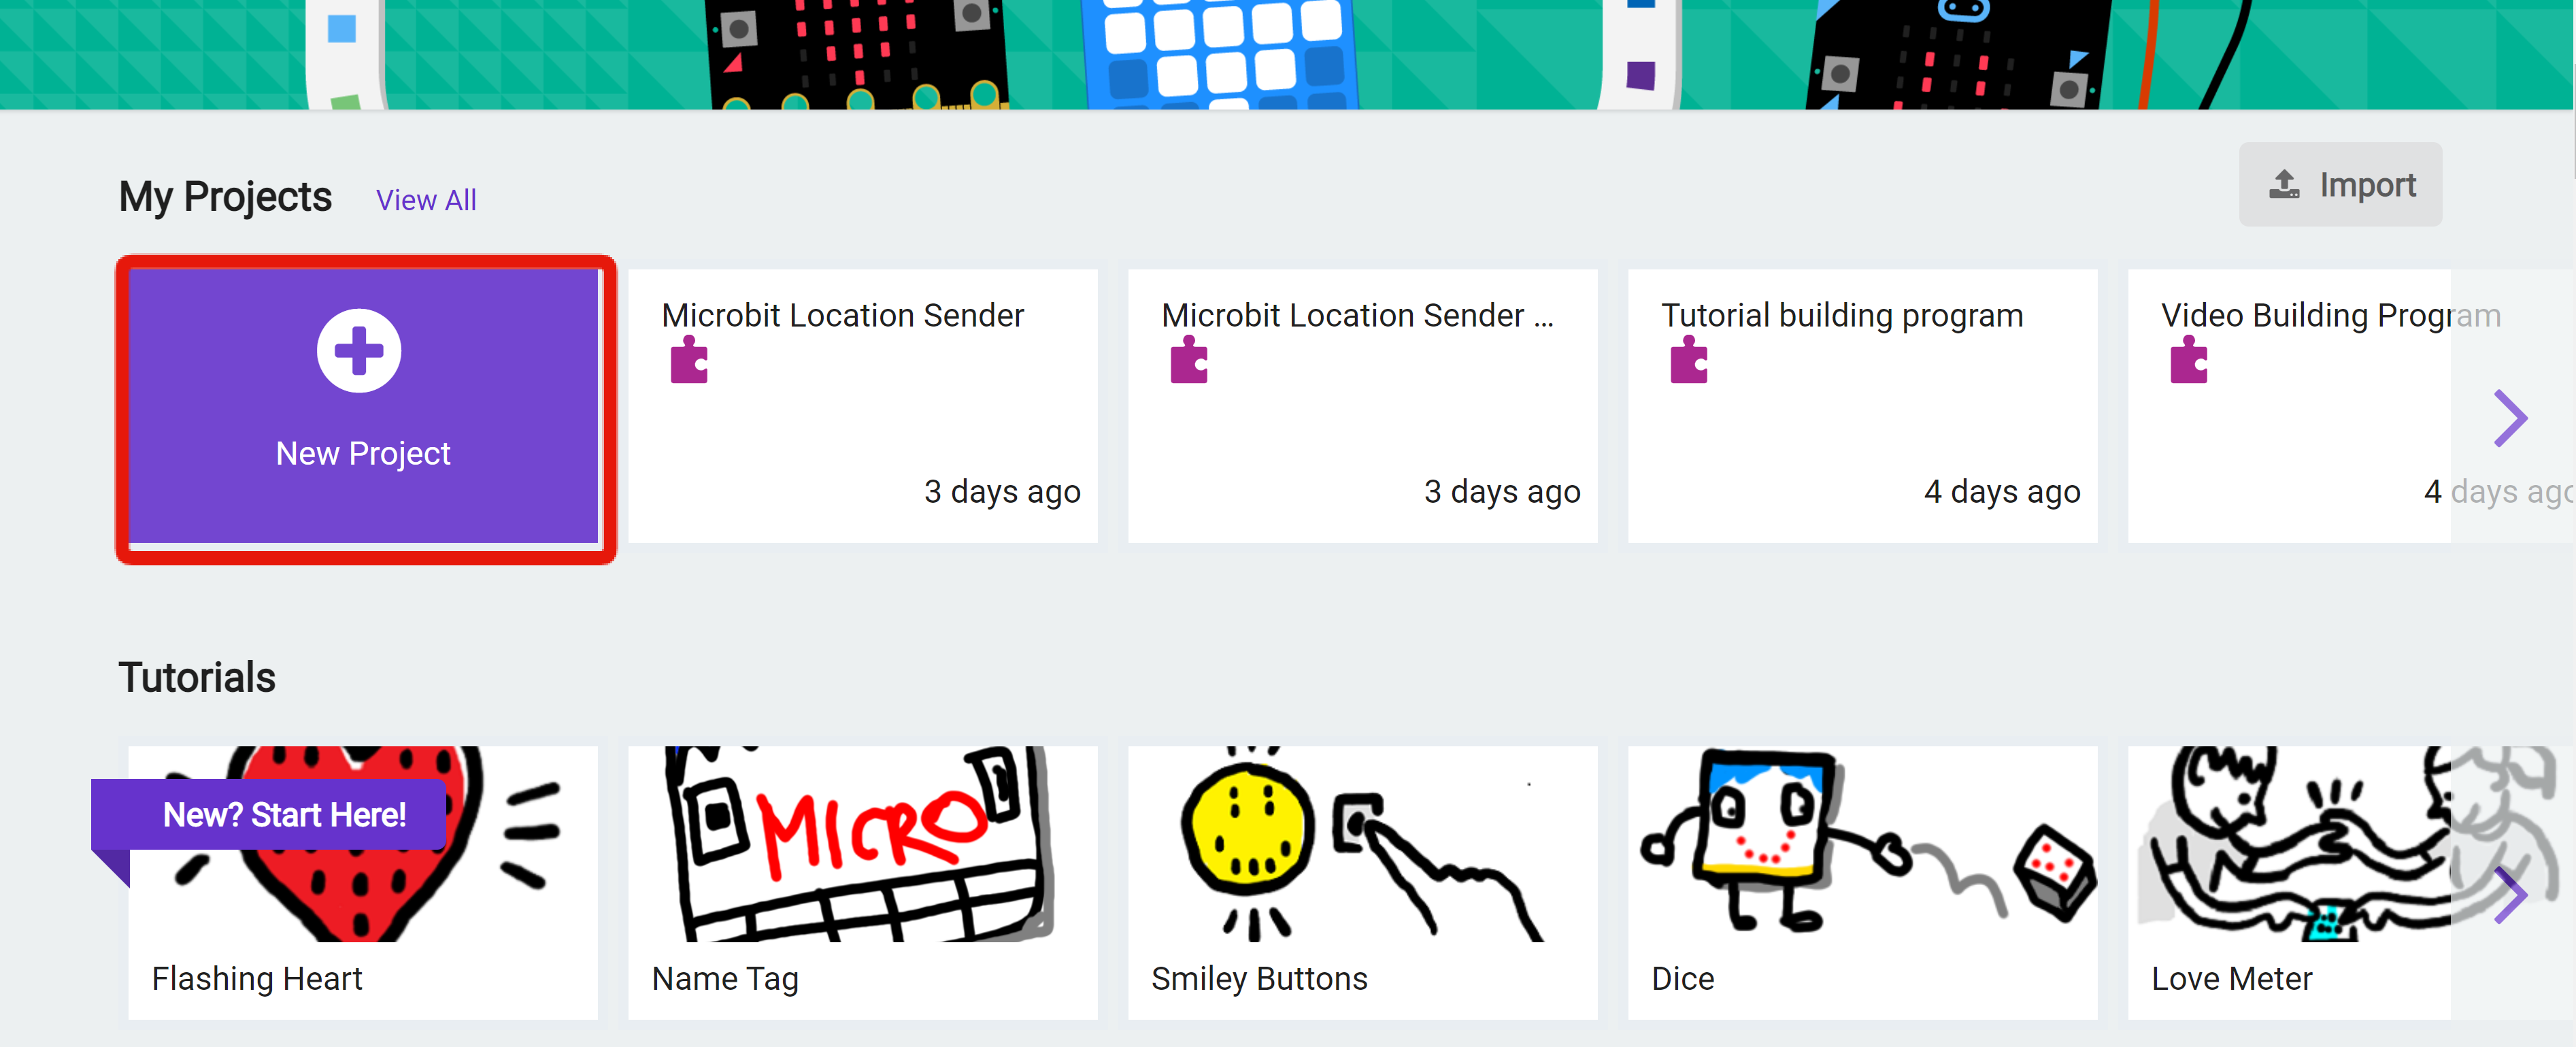
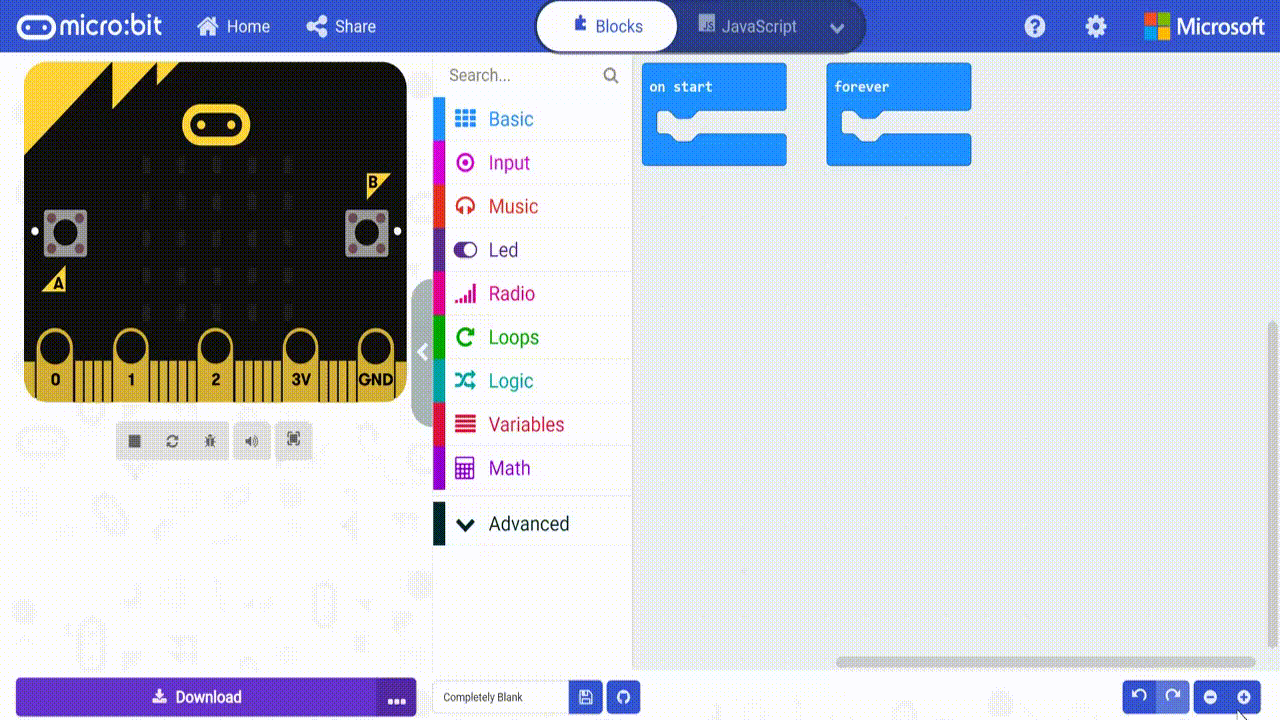
Create a New Project
Join MakerCloud KittenWiFi extension
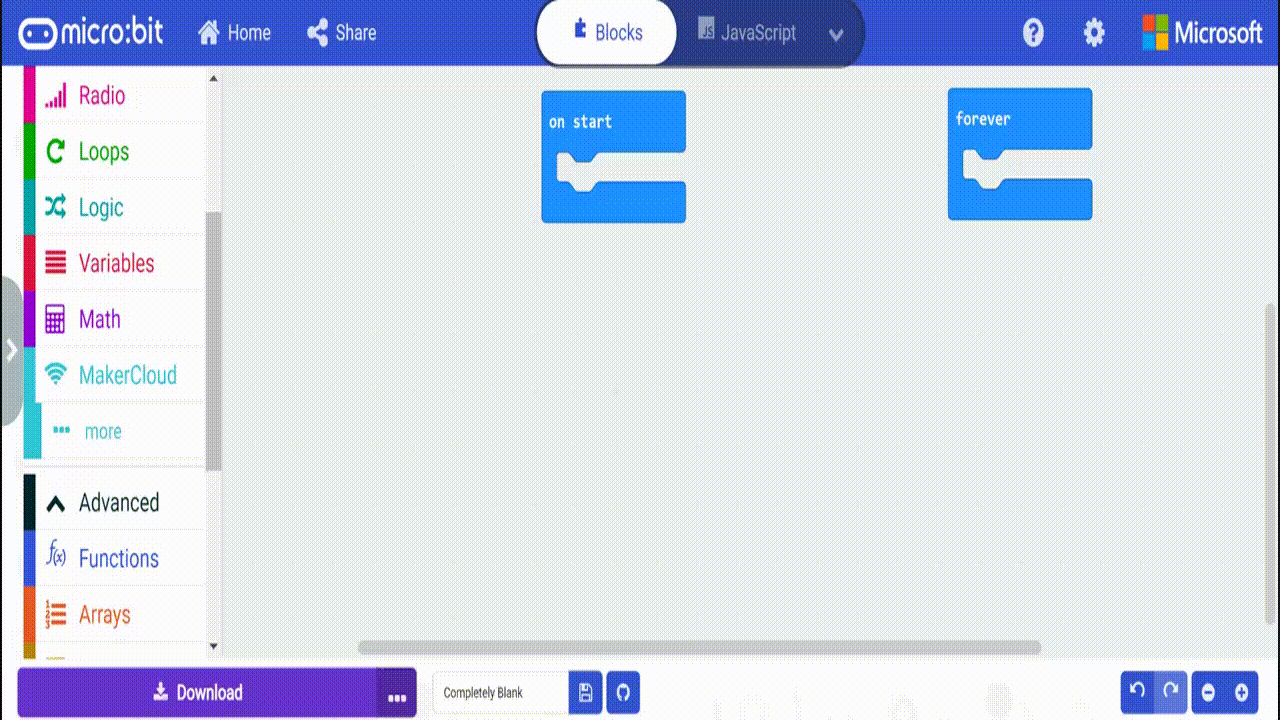
- Click "Advanced" -> "Extensions"
- Copy and paste the extension link of "MakerCloud KittenWiFi" https://github.com/scaleinnotech/pxt-makercloud-v2
- Add the extension to MakeCode
Connect Wi-Fi and MakerCloud
On Start: First, set up KittenWiFi when the micro:bit starts by adding these blocks:
- Setting the KittenWifi port
- Connect Wi-Fi settings: Enter SSID and password
- Connect to MakerCloud MQTT
After completing the programming, the user can download the program to the micro:bit. If you don’t know how to download code to a micro:bit, you can go to the following tutorial: https://microbit.org/get-started/first-steps/set-up/
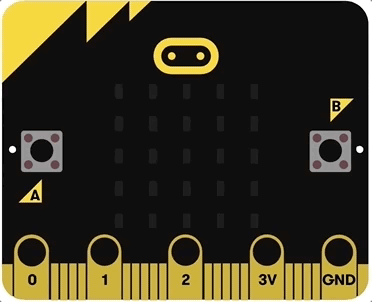
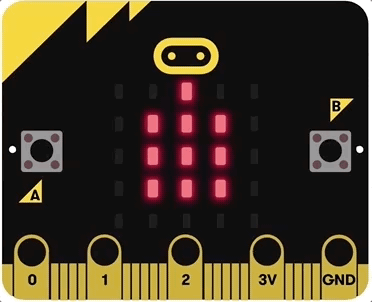
After downloading the programming, the LED lights on the micro:bit will show to the connection status:
| Connecting to Wi-Fi | Connected to Wi-Fi,Connecting to MQTT |
|---|---|
 |
 |
After successfully connecting to MakerCloud, users can add other programming to make their micro:bit perform other MQTT commands. Note that you must first connect Wi-Fi and MakerCloud MQTT every time you program.
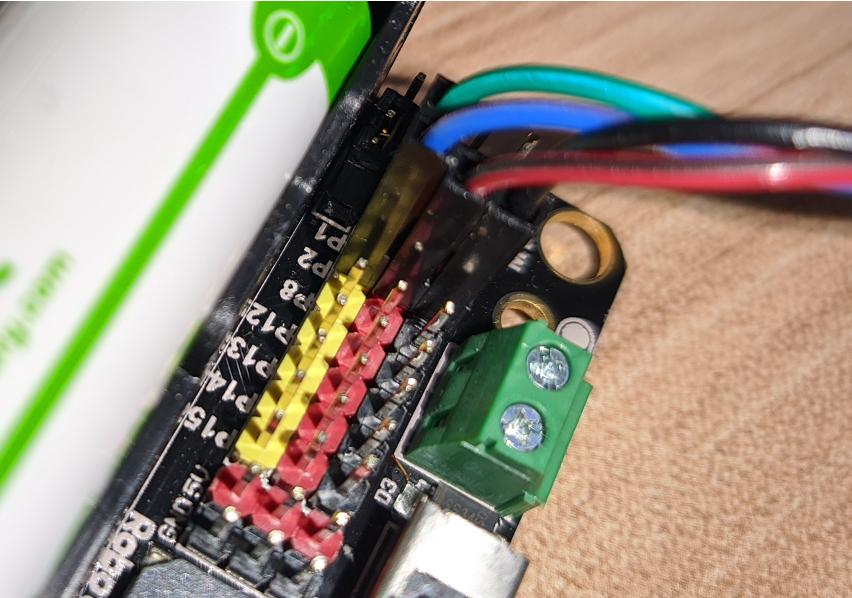
Robot:bit V2.0
- KittenWiFi can also be connected to the micro:bit using the DuPont connector, so users can use different micro:bit expansion boards on the market to connect to the micro:bit.
- Also note that most expansion boards on the market do not provide additional power. The KittenWifi will not work properly if you only rely on the micro:bit for your power supply. The micro:bit does not have enough power.
- Therefore, if you need to use the DuPont connector to connect the KittenWiFi to the micro:bit, you must have an additional power supply.
The Robot:bit has a lithium battery for additional power, so we recommended using Robot:bit to connect to KittenWiFi. There are instructions below. Users using other expansion boards with DuPont interface can also follow these instructions.
Connection
The 4 interfaces on the KittenWifi are G, V, A, B: * G ------------> Ground * V ------------> 3.3v/5v * A ------------> TX * B ------------> RX
In MakerCloud KittenWiFi extension, the default settings are:
- TX ------------> P2
- RX ------------> P1
For simplicity, users can connect to KittenWiFi with the default settings.
After KittenWifi is connected, build a connection program on MakeCode
Makecode for micro:bit
https://makecode.microbit.org/
Create a New Project
Join MakerCloud KittenWiFi extension
- Click "Advanced" -> "Extensions"
- Copy and paste the extension link of "MakerCloud KittenWiFi"
https://github.com/scaleinnotech/pxt-makercloud-v2
Connect Wi-Fi and MakerCloud
On Start To set up KittenWiFi when the micro:bit starts, add these blocks:
- Setting the port of your KittenWifi
- Connect Wi-Fi settings: Enter SSID and password
- Connect to MakerCloud MQTT
After completing the programming, the user can download the program to the micro:bit. If you don’t know how to download code to a micro:bit, you can go to the following tutorial:
https://microbit.org/get-started/first-steps/set-up/
After downloading the programming, the LED lights on the micro:bit will show to the connection status:
| Connecting to Wi-Fi | Connected to Wi-Fi,Connecting to MQTT |
|---|---|
|
|
After successfully connecting to MakerCloud, users can add other programming to make their micro:bits perform other MQTT commands. Note that you must first connect Wi-Fi and MakerCloud MQTT every time you program.